|
|
Post by jfc on Oct 7, 2008 9:52:15 GMT
I agree most of them are not painted on the backs but the main reason i take them out is because they are rotten .
|
|
|
|
Post by agbagb on Oct 7, 2008 12:12:14 GMT
Hi JFC, I managed to follow you over to here. I've had a read through this thread, your windows are coming on nicely  . Thanks for comments and suggestions about design details regarding my window build. If any here is interested I'm bloging my progress at slidingsash.blogspot.com/ These are double glazed sliding sash windows with weights and trying to keep the section as slim and traditionally proportioned as possible. I found some good information regarding modern design principles on the TRADA web site www.trada.co.uk (search in the library for High Performance Wood Windows), how to keep water ingress controlled, some info on painting as well. I think I'll be priming everything and micro-porous painting visible parts. I also found useful information about double glazing in timber windows at www.thewindowman.co.uk Lots of info about misting and other failures, using glazing tape etc. Definitely DON'T fill the space in the rebate! 5mm air space all round and vented seems to be the minimum. PS. I've put too many post on blog yesterday and its been picked up as potential spam, hopefuly it should be OK again in a couple of days |
|
|
|
Post by jfc on Oct 7, 2008 12:19:38 GMT
;D Glad you found us . Not sure if ive been banned again over there . It was a quick in and out to tell you to wedge the tenons .
|
|
|
|
Post by mrgrimsdale on Oct 7, 2008 12:25:44 GMT
|
|
|
|
Post by andy king on Oct 7, 2008 18:10:27 GMT
Well perhaps its regional, perhaps age as well or a combination of both. Load of stuff around the 30's era that was primed on the backs that i've taken out at our local hospital when it was operational.
|
|
|
|
Post by jfc on Oct 7, 2008 18:34:52 GMT
Got the frame glued up today and started marking out for some fluting on the face . This clamping wall / wall saw is so handy for glue ups . 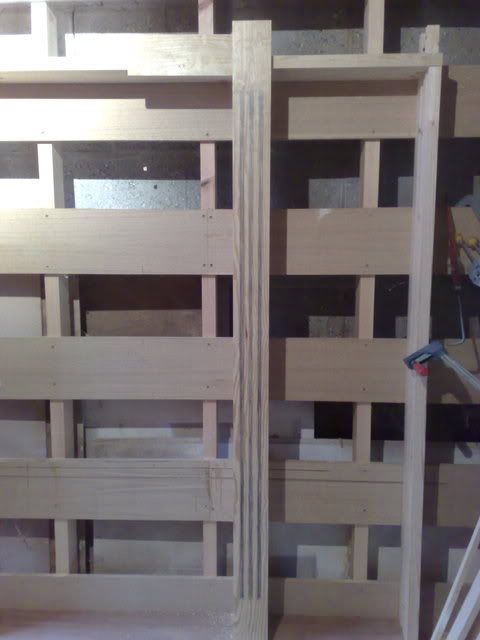 |
|
|
|
Post by Dave S on Oct 7, 2008 21:00:49 GMT
;D Glad you found us . Not sure if ive been banned again over there . It was a quick in and out to tell you to wedge the tenons . Strange that you got in with your old username. It still doesn't show you as banned, and a nice bit of advertising for this forum to boot! |
|
|
|
Post by jfc on Oct 7, 2008 21:18:42 GMT
I'm not sure i was banned , more like one mod got the ar*e and blocked my IP . Now its changed i can log in again . But now that i have said that they will probably block it again . Strange as they let other banned members back in that have done far worse than question a moderators actions  |
|
|
|
Post by Dave S on Oct 7, 2008 21:32:44 GMT
I'm not sure i was banned , more like one mod got the ar*e and blocked my IP . Now its changed i can log in again . But now that i have said that they will probably block it again . Strange as they let other banned members back in that have done far worse than question a moderators actions  They have?  |
|
|
|
Post by jfc on Oct 7, 2008 21:43:17 GMT
Yup  Anyway i'm back on these huge 5mm gaps people are leaving for air flow around the units . Thats mental ! Where do you get this info  I bet its from the people that sell that putty on a roll  |
|
|
|
Post by agbagb on Oct 7, 2008 22:26:12 GMT
Jacob, Thats one hell of a slim meeting rail, it would be nice to get DG in to frames that elegent.
JFC, I got the information from TRADA I think it was passed on to them from Moses "thou shalt have at least 0.01 cubits around thine units"
|
|
|
|
Post by mrgrimsdale on Oct 8, 2008 6:50:16 GMT
Thats how they were in the window I was measuring. In fact quite a common size for a small to medium Victorian sash. Things are often thinner than you think esp when you have removed thick layers of old lead paint. I've seen glazing bars at 12.5 mm. 14 0r 15mm common.
BTW old trad sashes and DG are completely incompatible. Not worth even attempting. You can have old windows or copies, or modern windows with DG. There is no middle ground!
cheers
Jacob
|
|
|
|
Post by jfc on Oct 8, 2008 7:15:10 GMT
Please explain  ;D |
|
|
|
Post by Keith on Oct 8, 2008 7:21:53 GMT
In the 80s I used to fit dg units with "flexible" mastic, a bit like putty and the units were fully bedded. It was supposed to be permanently flexible but set like concrete after a few years. Then I went on to using glazing silicon, fully bedding the units; which I still do when glazing doors. For windows I have gone on to leaving a gap the edge of the unit and fitting drainage to the bottom. To be honest I haven't seen any appreciable difference in dg unit life with any of the different methods of bedding dg units and I think it is mostly down to how well the unit is made and their choice of sealant. I live in a terrace of four houses, they were all converted to double glazing 10 years ago by the same firm. 3 of the houses have had the odd unit fail, whereas the last house to be converted has has over 50% of its units fail. IMHO dg manufacturers want to pass the blame of failed units onto the fitters and so they produce convoluted fitting instructions which are hard to follow; you need a deep rebate to leave a 5mm gap and ensure the alloy spacer is housed within the frame. If an air gap protects the unit, how come I see so many plastic windows with failed units  Jason, sorry to join the happy band of thread hijackers  |
|
|
|
Post by jfc on Oct 8, 2008 9:39:38 GMT
Im with keith there . I normally leave 4 - 6mm and have never had a failed unit .
|
|
|
|
Post by lynx on Oct 8, 2008 9:52:02 GMT
Could be sticking my neck out here but this is what i understand.
You need an air gap around the unit. I usually minus 6mm from tight rebate for DGU size. You also need the bottom beads drained and vented. I don't see the point of the air gap if the window is not vented properly.
This could be why UPVC have minimal unit failures due to the plastic extrusions being drilled for drainage and ventilation.
|
|
|
|
Post by jfc on Oct 8, 2008 16:58:48 GMT
I started on the sashes today so all the timber moulded up and cut to size , marked up for mortice and tenons . 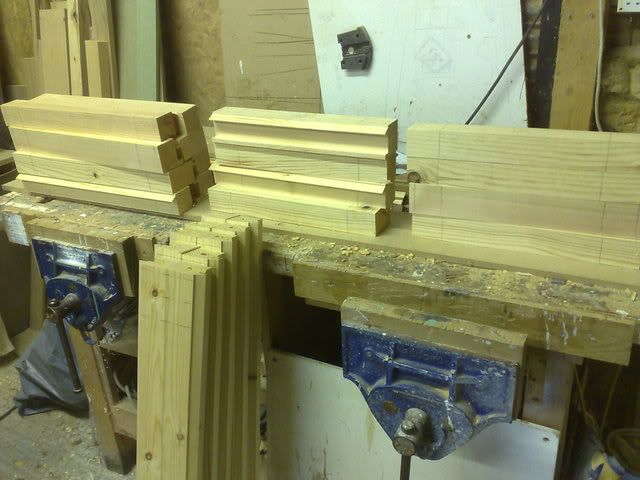 Cut the tenons on the bandsaw 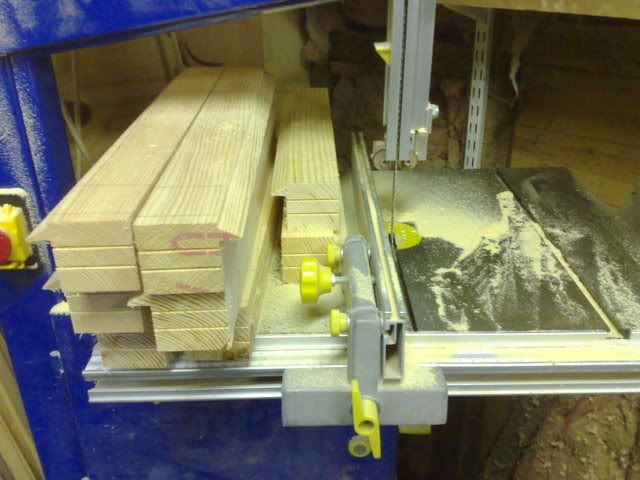 and the cheeks on the chop saw , ive fitted a toggle clamp to my saw because i got fed up of having to fiddle with the depth gauge all the time . Now i can clamp a bit of timber under the depth gauge and i only have to make a few turns to get it where i want it . 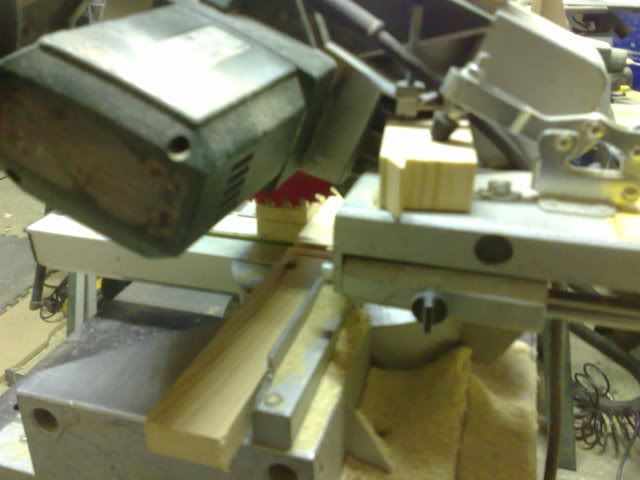 Tenons cut 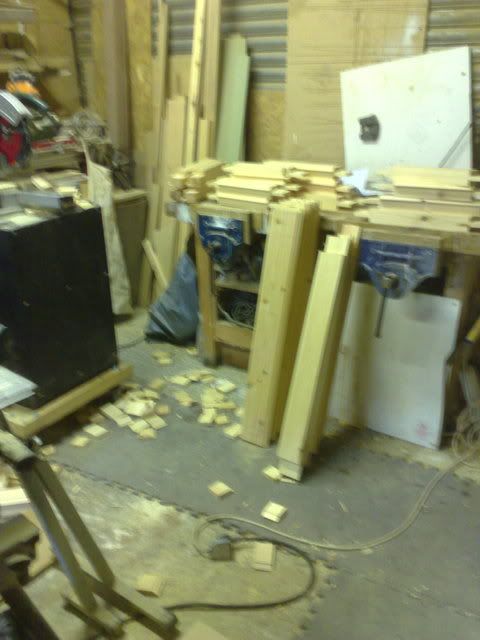 Cutting the haunches , i cut my wedges out of the was haunch material as it is the correct width .  Mitre the moulding and cut away the waste , i had my cutters made with the moulding the same depth as the rebate to save messing around with stepped tenon shoulders . You need to remember you are removing the moulding when you are marking out your joints . In this case everything is minus 15mm , the depth of the rebate and moulding . 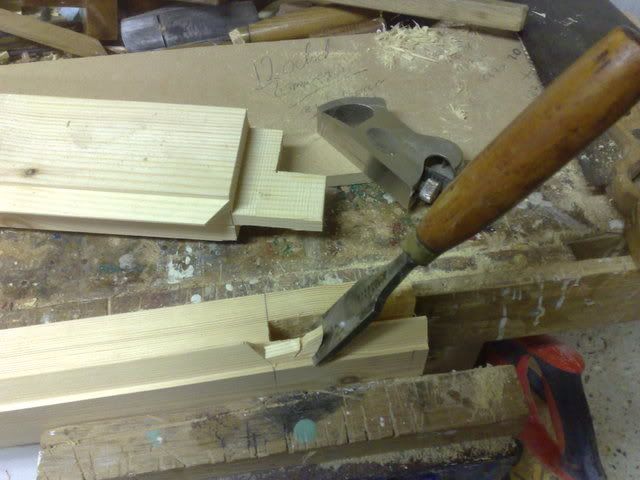 I then use a japanese pull saw to tweak the mitre . 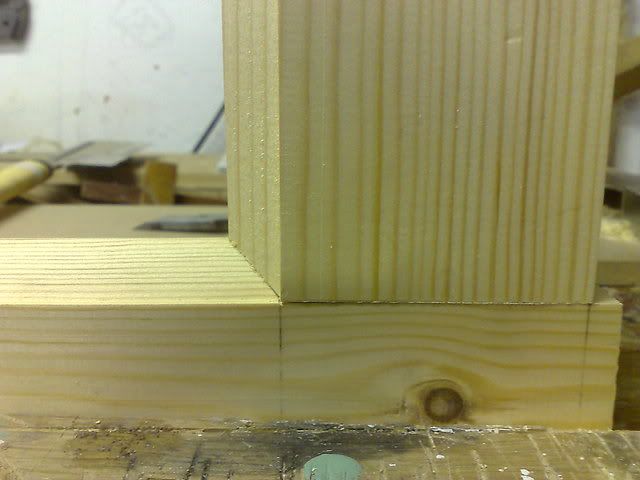 |
|
|
|
Post by agbagb on Oct 9, 2008 10:24:47 GMT
Looking neat. Do you hand cut the mortise? Will the wedges be both sides? ... I'm looking forward to the next instalment.
Andy
|
|
|
|
Post by jfc on Oct 9, 2008 12:57:03 GMT
Noooooo , i have a mortice machine . I cut out for the wedges by hand if that counts ;D
|
|
|
|
Post by jfc on Oct 9, 2008 17:59:01 GMT
Onto the horns this morning , i was sent a template of them and the cutters i bought off the shelf where not quite right . The customer is very serious about the horn so i sparked up the Legacy  in the attempt to give the customers the right horn ;D  mock up for the customers to decide on . 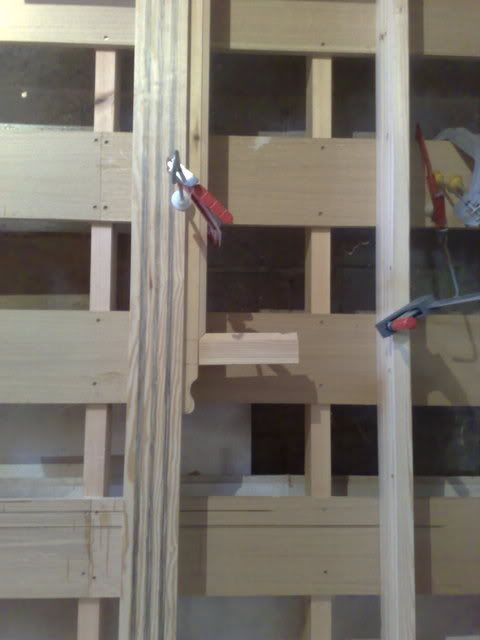 Then on to glue up of the sashes . 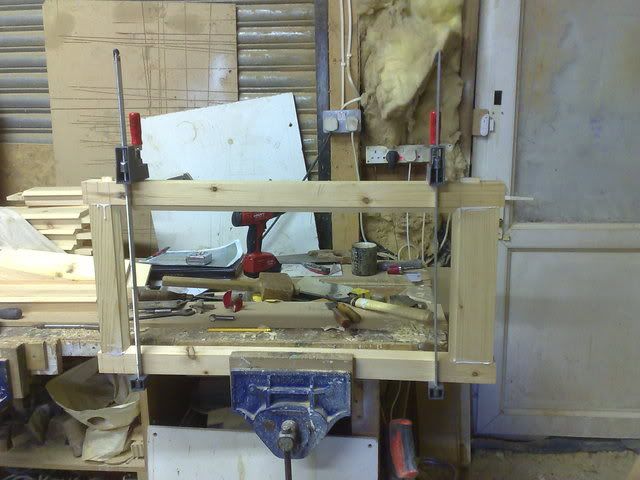 Check for square and wind and then onto the clamping wall ( did i mention how handy this wall is  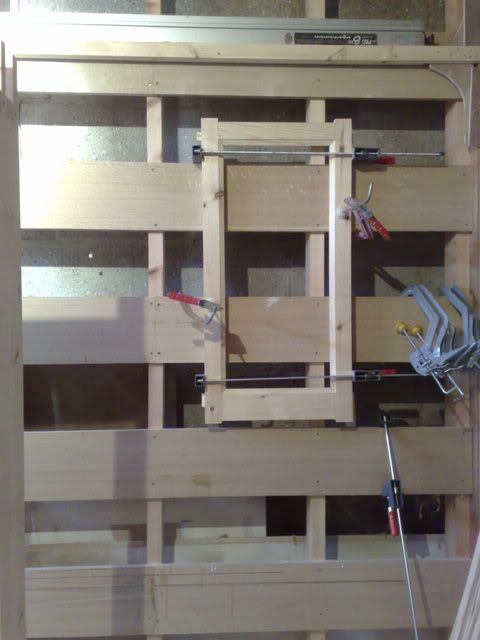 |
|
|
|
Post by engineerone on Oct 9, 2008 18:52:46 GMT
so it is no longer a panel saw then jason?  looks good, but be careful with those horns ;D paul  |
|
|
|
Post by jfc on Oct 9, 2008 19:04:07 GMT
Yup you can see the clamp and guide above the window . It works as a wall saw and a clamping wall  |
|
|
|
Post by mooretoolsplease on Oct 9, 2008 19:54:21 GMT
nice write up Jason,
Rather than chiselling away the mitres where your rail and stile meet, can you not set up your mitre saw with a depth stop and length stop?
I've just made a set of 5, and one place I was able to save soem time on was by making the tenon the overall length of the window, not having it protrude from the stile.
This only meant cutting off the wedges and a quick sand instead of cutting all 3 parts and a longer time sanding.
sounds quite trivial, but with 8 per window and 5 windows, thats 40 lots of time I saved
|
|
|
|
Post by jfc on Oct 9, 2008 20:09:16 GMT
Chiseling out the mould takes no time at all really and is quite a nice break from the boring bits . Same as leaving the tenons long , if your cutting the wedges then you may aswell cut the waste off the tenon . You need to sharpen your saw mate ;D
As for sanding , i go over the whole window with a belt sander with a worn out 120 grit belt , so a proud tenon is easy .
|
|
|
|
Post by thallow on Oct 10, 2008 15:12:20 GMT
... I'm looking forward to the next instalment. Andy Yep ditto - fabulous thread  thanks for taking the time! PS agdagb - enjoying your blog too.... |
|