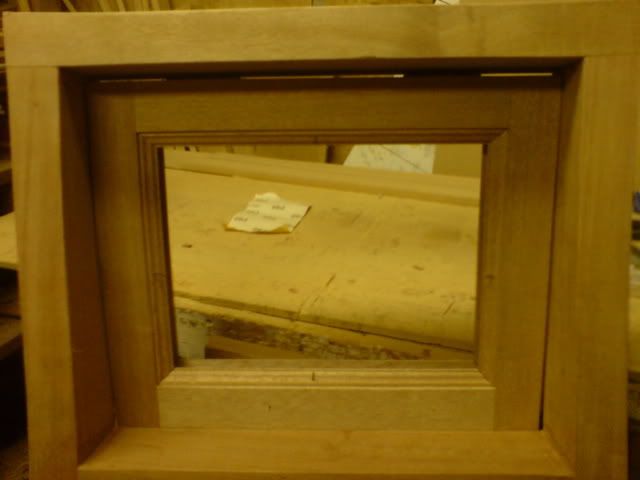
Post by jfc on Oct 17, 2007 21:56:58 GMT
The aim is to show how to build a window with very basic or cheap tools (the way i started making things as i built up my workshop and work load ) I will be using my bigger machinery to speed up my progress but i will try and show the tools that i used to use .
To start i measured my old window , i had to remove the arcitrave to get the outside measurements of the frame . My window is 540 mm wide X 1220 mm high and the cill over hangs on the outside by 70 mm each side , there is also a top opener and a bottom opener .
I'm going to make the new window to comply with the regs so it will be rebated to take a 4mm , 16mm gap , 4mm k glass double glazed unit .
First the frame ,
I took some old stock from my timber rack and cut two side rails at 1240mm , a top and mid rail at 560mm and the cill section at 680mm .
(please note the detailed drawing at the bottom of the picture)
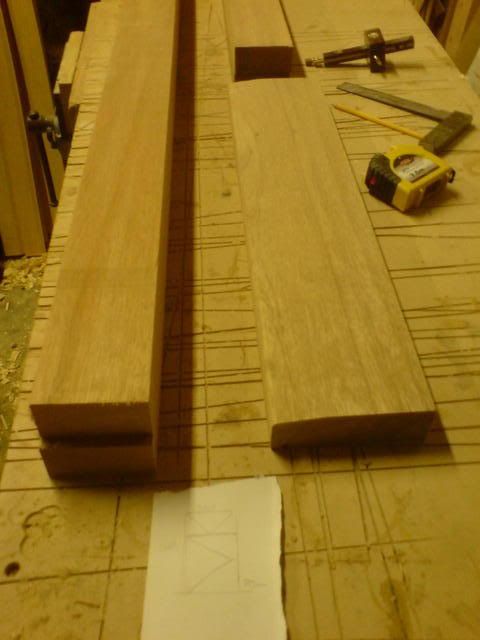
I then marked out one side rail and one cross member and transferred the marks over to the other members .
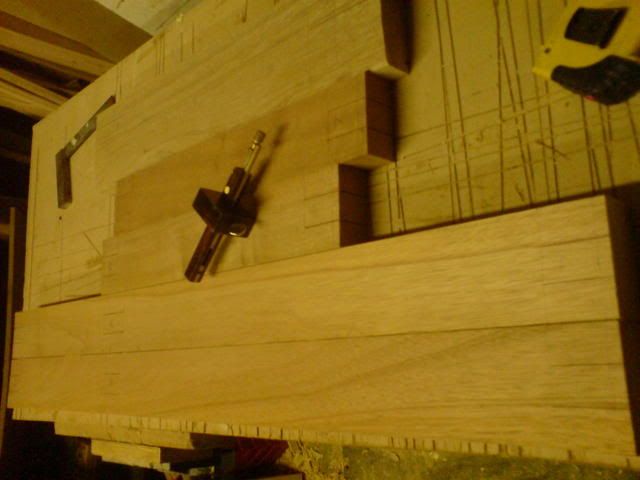
For the side rail i allowed 10mm waste 45mm for the cill then up to mark out the mid rail 45mm and then up to the top rail at 1230mm (adding the 10mm waste allowed at the bottom) and then measure back 45mm for the top rail . The cross members where 10mm waste 45mm , 550mm and back 45mm .
The 45 mm is to allow for the joints . I hope that made sense
I then had to mark out the mortice and tenons , i hold the tape across the timber to read 120mm or what ever is easiest to divide into 3 . 120mm lets me mark off at 40mm , 80mm and i can set my mortice gauge to those points .
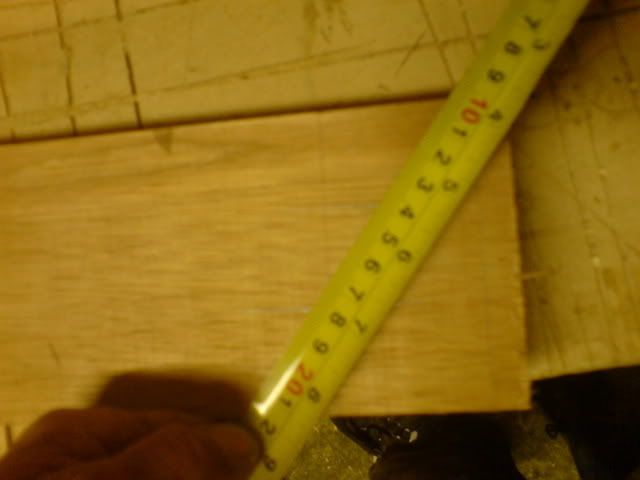
Time to start cutting , i mark an M for mortice and a t for tenon on all my parts as the bigger the window or windows the more parts you have and could chop off the wrong bit . The mortices on the top and cill can be ripped down with a saw as the will be an open ended mortice and tenon anyway .
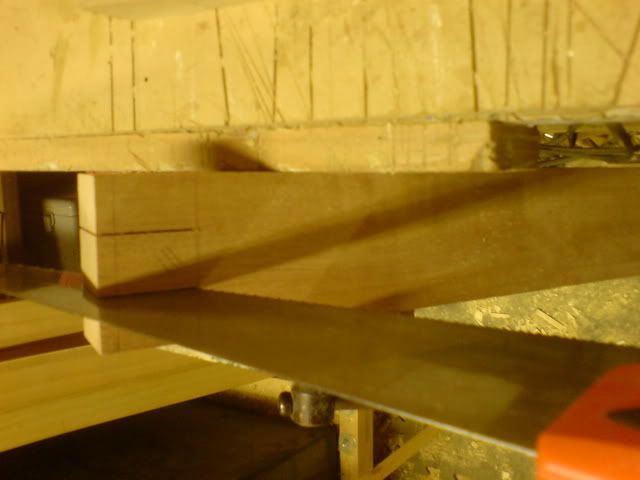
The cross grain on the mortice holes can be drilled out with a 3d bit and cleaned up with a chisel . I still do this for my frames as it's quicker than setting up the mortice machine for one offs .
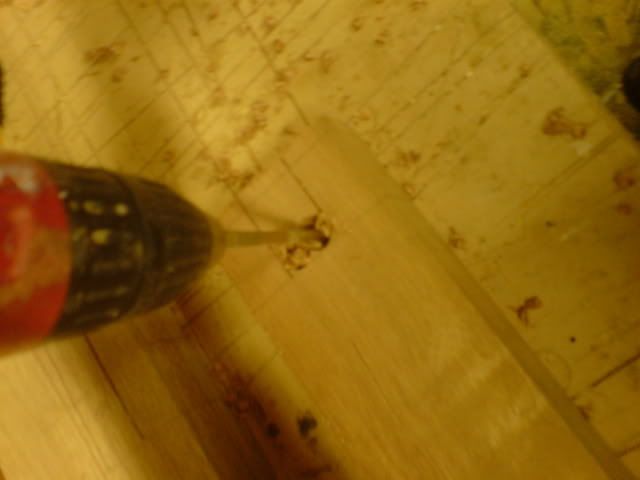
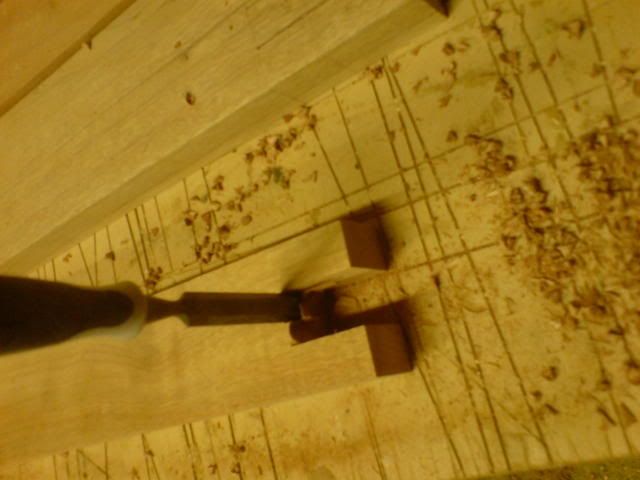
For the mid rail you will need to cut out on the back of the mortice for the wedges
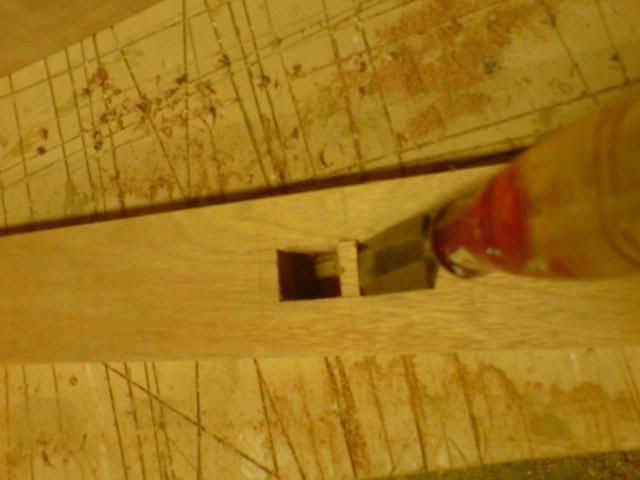
Cut the cheeks off your tenons , you could set the depth stop on your chopsaw if you have one but again for one offs i just cut them by hand as it's quicker .
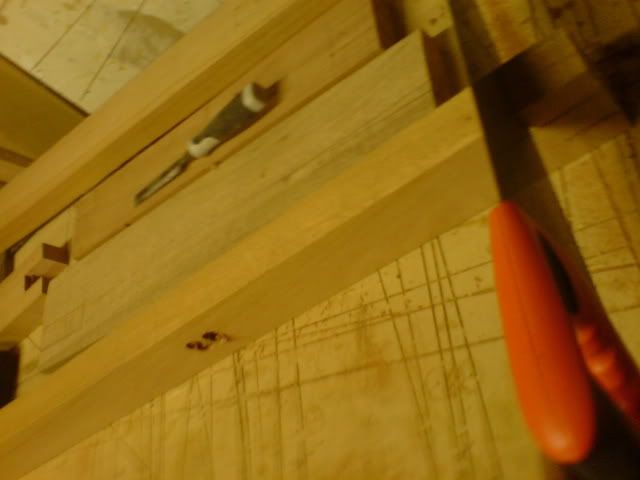
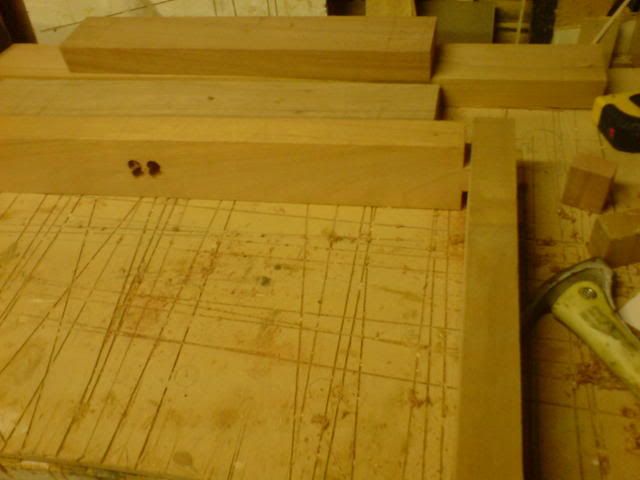
don't forget to keep your tenon cheeks as they are one third the size of your timber so ideal to make the wedges .
I find it a good idea to make sure my joints are a good fit as i cut them and number them if i'm doing a big window as by the end you could have loads of parts that look the same .
Thats it for this instalment . 1/2 the frame made but it was getting a bit late to be banging out the rest of the mortice holes .
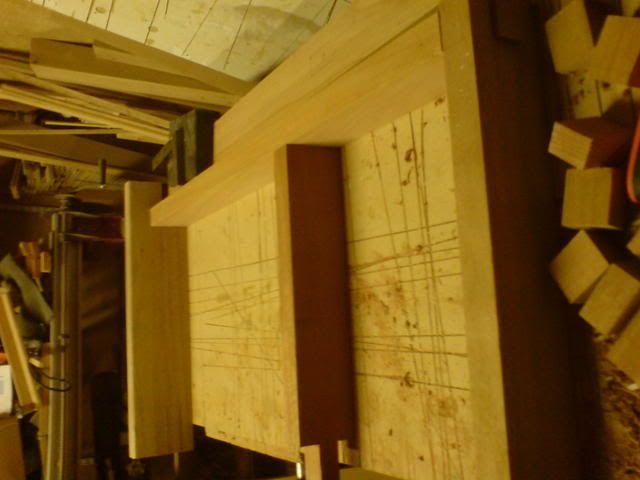
I've finished the rest of the mortices so now the frame is ready for glue up .
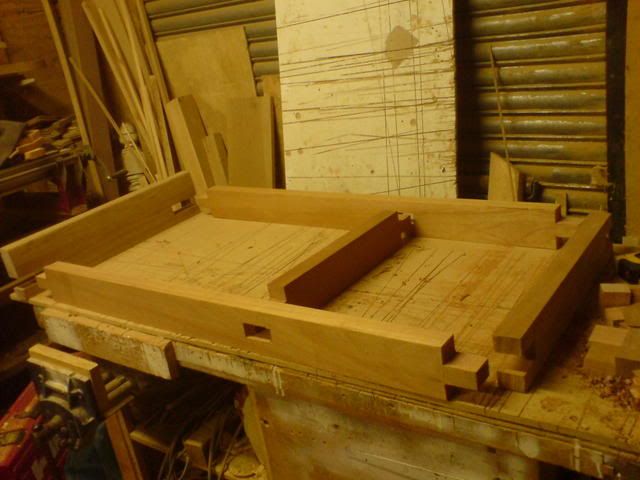
Once the joints are glued and put together check for square and add your clamps . I clamp up and use 3" screws to hold my open M&T 's together .
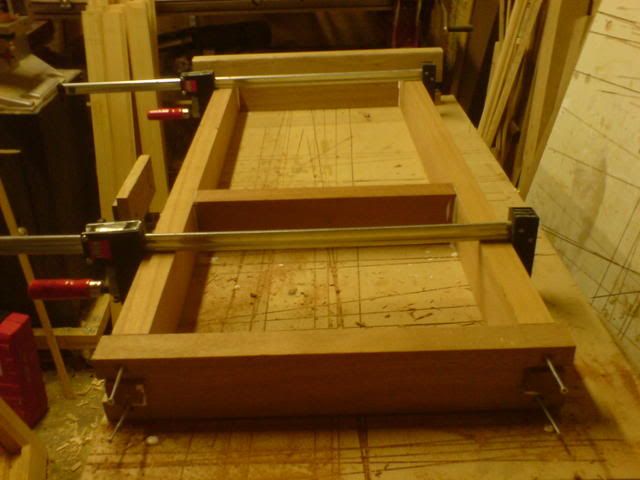
Once the open joints are done it's time for the wedges
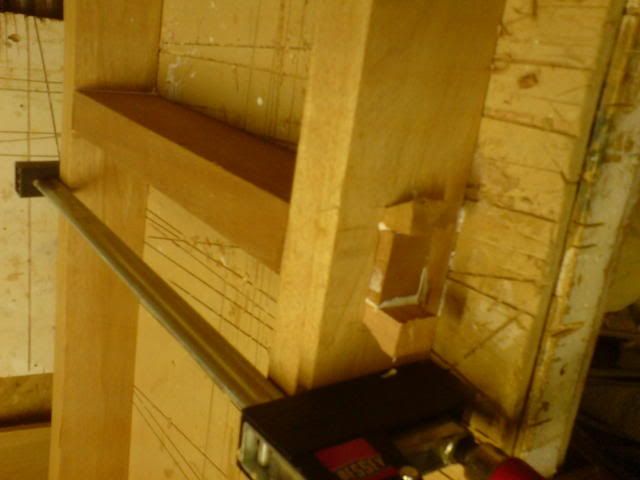
I now remove the clamps so i can check for square and wind , i like to make sure every thing is in order before the glue dries and to be honest with the screws and wedges in place the joints are going nowhere .
To check for square i use a pinch rod , a nail in a bit of wood . Put the nail into one corner and mark of the diagonal corner , now do the same to the other diagonal , if the mark is in the same place your square , if it's not (hammer) (hammer) (hammer) it till it is .
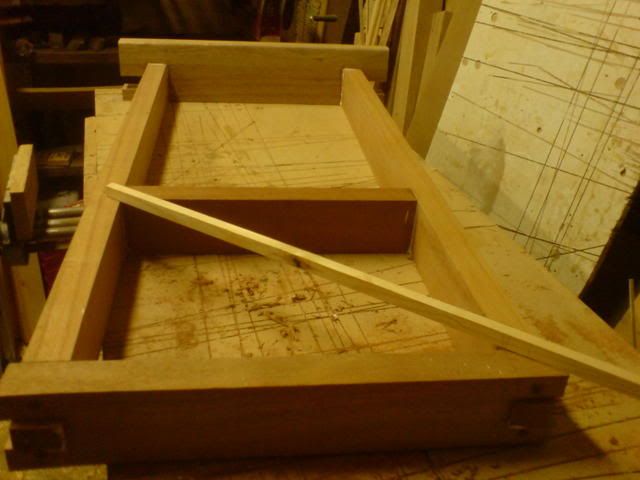
Now check that the window frame is in wind , if you look along the top of one rail and it meets the bottom of the other rail when you move it up and down with your line of vision then its in wind
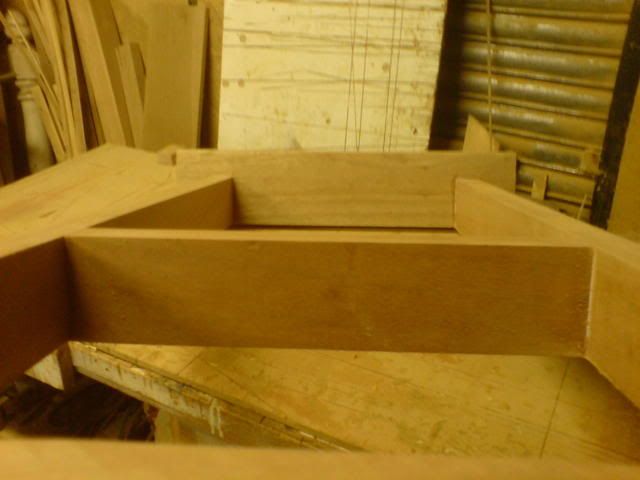
If it's not (hammer) (hammer) (hammer) it till it is ;D
you will need to pull it into wind the same as squaring it so by holding one diagonal against something and pulling the other diagonal round you should be able to pull it into wind . This is why i take the clamps off right away , so i can do all this if needed while the glue is still wet .
Now we are square and in wind you can replace the clamps if you like , i don't bother and get on with cleaning up . So cut off all the 10mm overhangs and 10mm tenons sticking out of the mortices . If moving the frame around alot then it's a good idea to leave the top and bottom horns on to protect the corners until it's ready to be fitted .
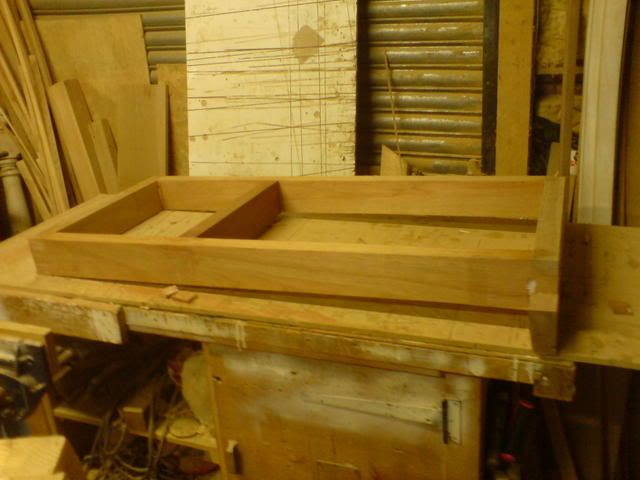
A final clean up of the glue and a quick sand up and our frame is ready to measure for the openers and stop beads .
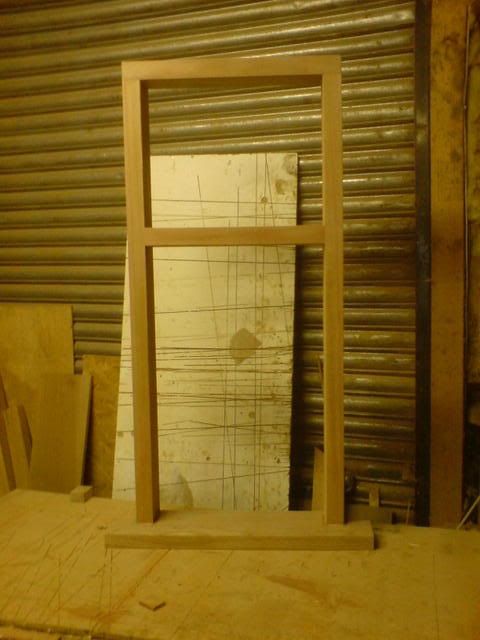
If your window frames are bigger than this one i.e. have a middle upright or two then the process is the same at marking out as the side rails but when you are cutting them instead of cutting a mortice for the mid rail cut the timber in the middle of that joint and do two stop tenons on them and put the mortice holes in the mid rail
Ok , ready to make the casements now . So i have got my sizes at 720mm x 448mm for the bottom opener and 362mm x 448mm for the top opener . I am using 94mm x45mm for the bottom rail of the bottom opener and 64mm x 45mm for all the other rails . I've beefed up the sizes of the 64mm rails from 45 mm x 45mm because i want to put a 15mm rebate in them to hide the metal bar in the double glazed unit . If i used 45mm x 45mm i wouldn't be able to fit any iron mongery on the windows to keep them shut . (don't ask how i found this out please :oops: )
I marked them out the same way as the frame , adding the 10mm waste then 49mm ( 64 - 15 ) up to 720mm and back 79mm ( 94 - 15) for the bottom rail . Then transfer the marks over to the other stile . The same on the top rail 10mm , 49mm , 362mm and back 49mm . All the top and bottom rails where 10 mm , 49 mm 448mm and back 49mm .
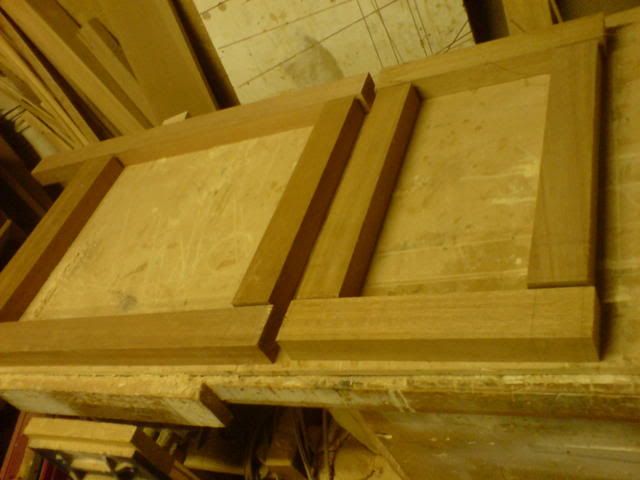
Because we are using 45mm thick timber everything is a bit tight to get the 24mm dg unit in . I now get my stock milled up for me at 65mm x 50mm and 95mm x 50mm to give me more room for a thicker glazing bead . On this window i will be going for a 6mm glazing bead and bead the window from the inside . I want a chamfer on the out side to give the impression that the window is puttied in rather than beaded .
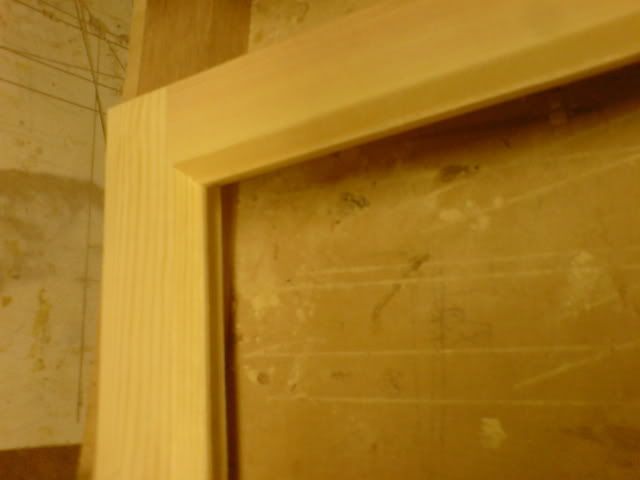
On to the window ......
Rebates , i did mine on the spindle moulder in one pass 8) but there are plenty of ways as you may well know . I used to hog out the main material on the table saw and use the off cut to make the beading to hold the glass in place ( beading recovery ) . If you don't have a router table the a bearing guided rebate cutter will do although the most you be able to get is 12mm on the rebate , i'm after 15mm . (you maybe able to get a deeper rebate but i don't know of a rebate bearing guided cutter that will go bigger than 12mm )
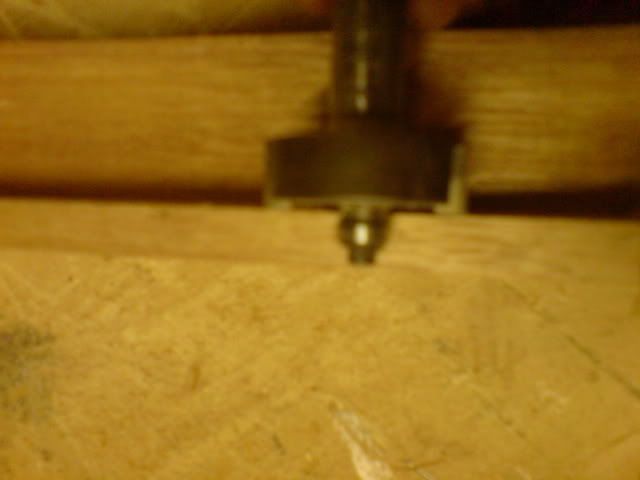
If you do have a router table then a straight cutter will give you the rebate you need .
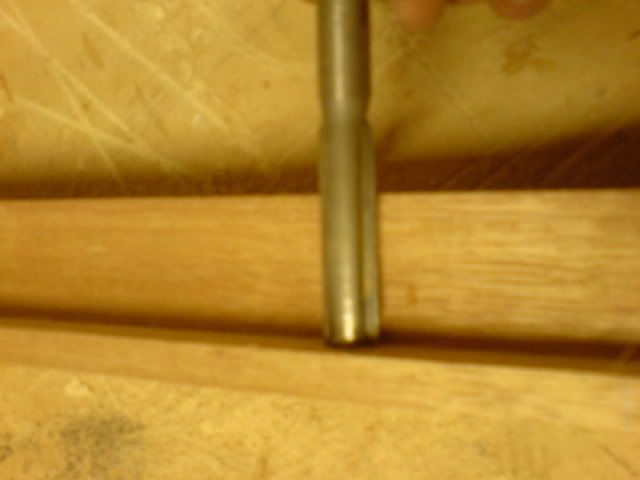
Both cutters will take quite a few passes if you don't hog out the material first .
Now the chamfer
You want this to be the same depth as the rebate as it makes it easier to cut the tenon shoulders rather than having stepped shoulders .
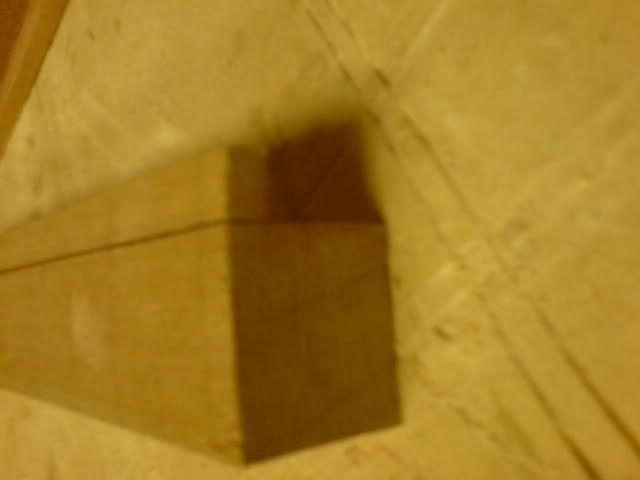
The plan is to cut away the chamfer on the morticed stile where the M&T shoulders meet .
Again loads of ways to do this with router cutters ets but i though id use a normal smoothing plane just for fun . Normally i would leave the timber at longer lengths (2-3M ) but as i am using off cuts and i am trying to show how i make windows i cut them to length first .
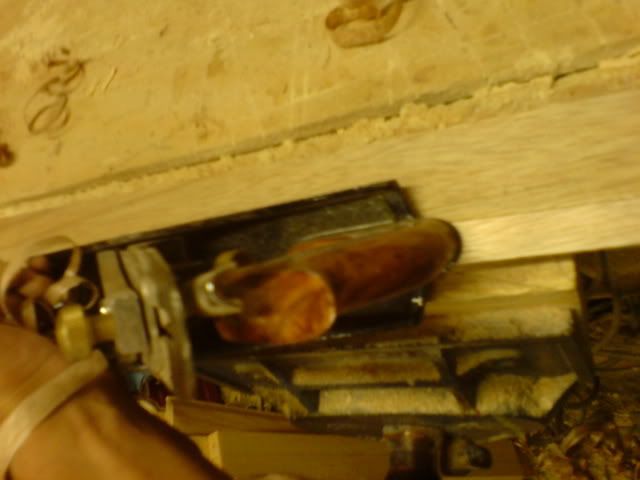
I leave a flat of about 2mm where the chamfer meets the rebate as taking it to a point will :
1; get damaged very quickly
2; be the first place to rot and
3; i need something square as a datum for when i cut away the moulding on the morticed rail .
Marking out the mortice and tenons .
1/3 of the timber like the frame or 1/2" if you have a mortice machine .
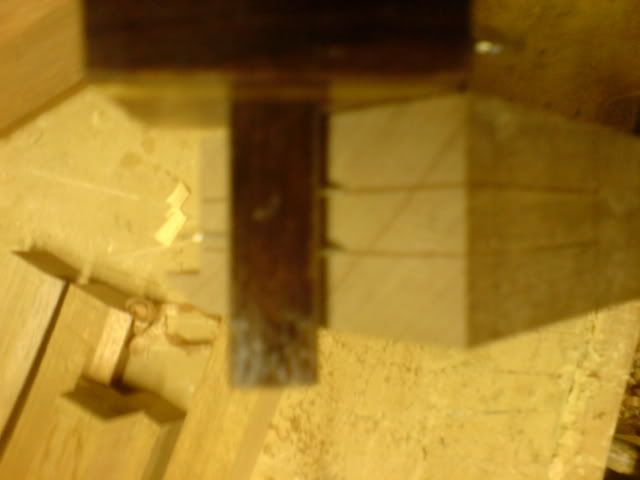
I cut the tenons full size even though it's a haunched M&T that will be used . For the mortice you need to mark full size on the front but half way on the back and include the marks for wedges .
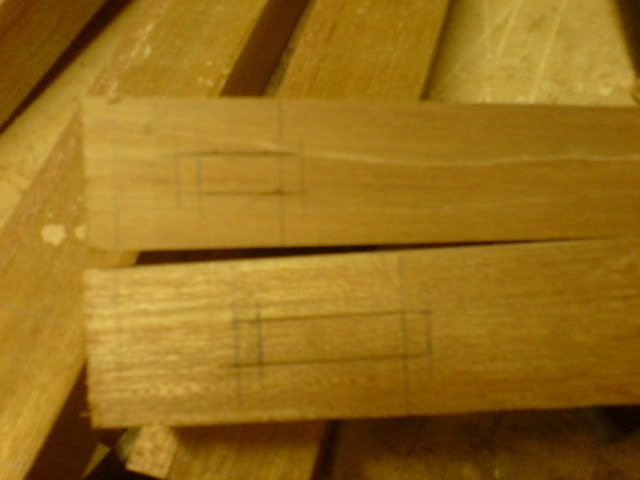
One mortice is bigger for the bottom rail on the bottom opener .
now cut the tenon cheeks with a very expensive specialized saw ;D
Now the mortices , a 3D bit is again a good way to hog out the main material .
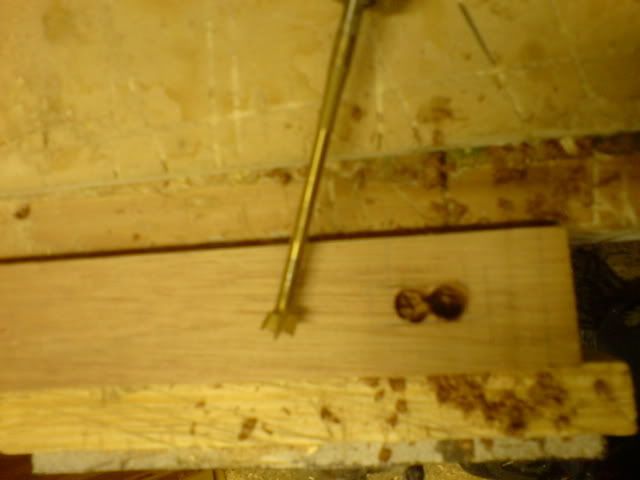
Because it's a haunched joint you need to cut half a full mortice and the last part is half way down like a stop mortice .
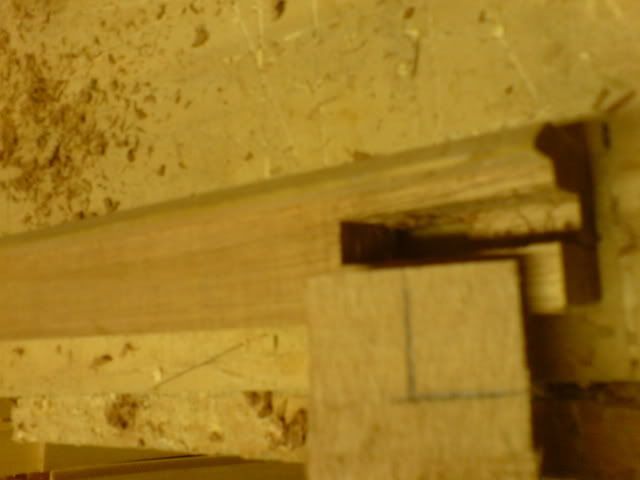
don't forget to cut out for the wedges .
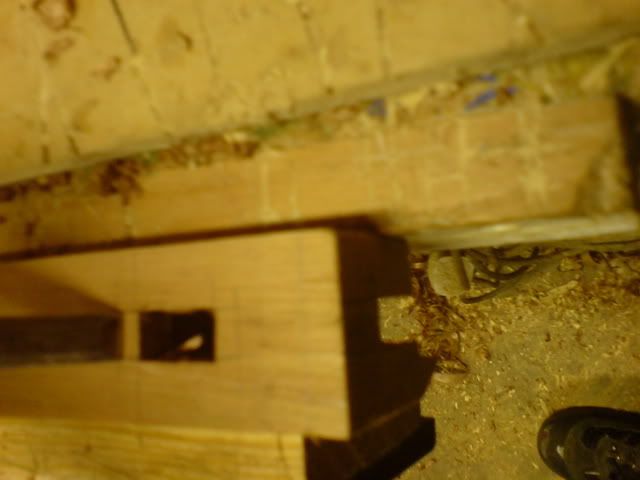
Once you have cut the haunch on the tenon you can slide the joint together and mark where the beading needs to be cut away on the side stile (morticed part )
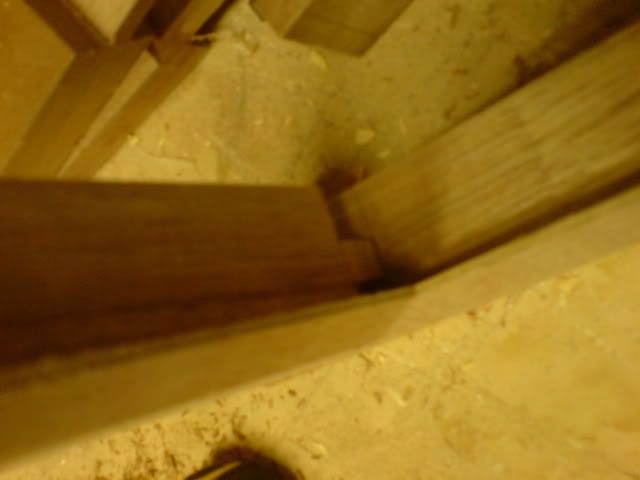
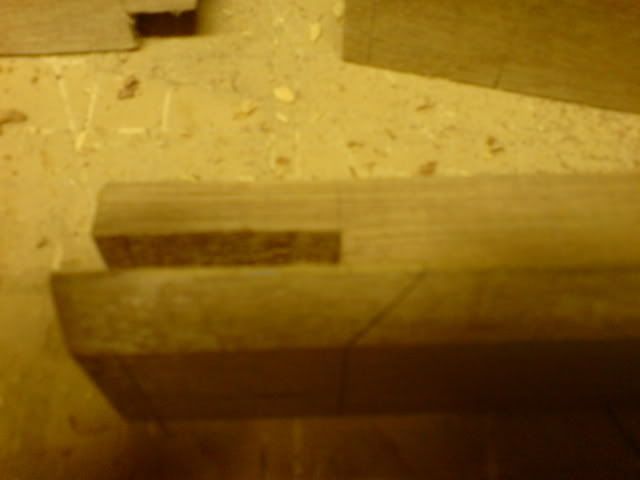
Both beads need a 45* cut on them , if you cut just shy of the line you can scribe the joint in as you put it together .
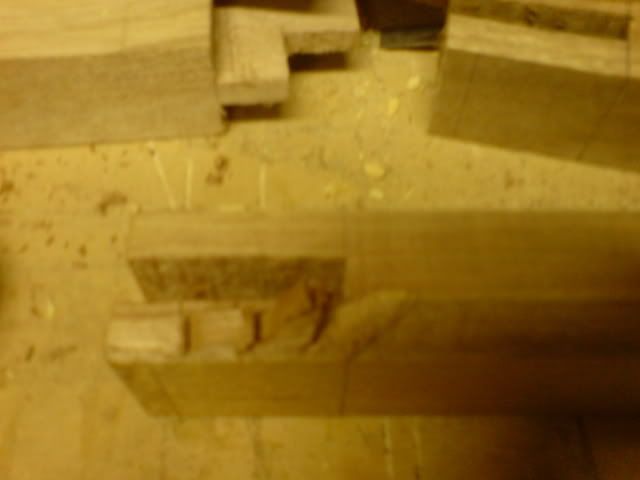
slide the saw down the mitre until the shoulders meet .
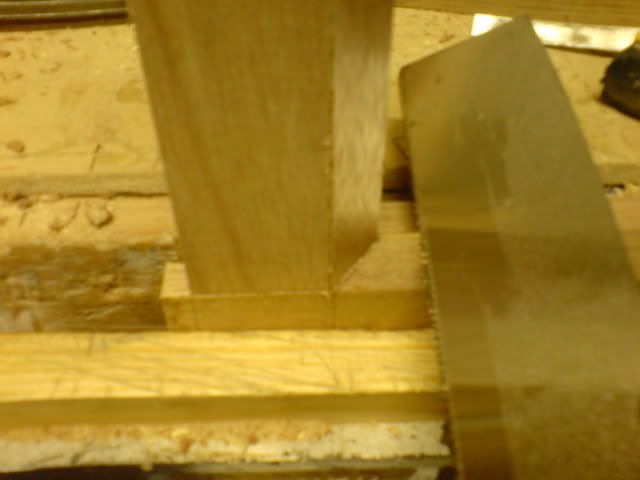
One haunched mortice and tenon , do this for all the joints and it's time for clamp up .
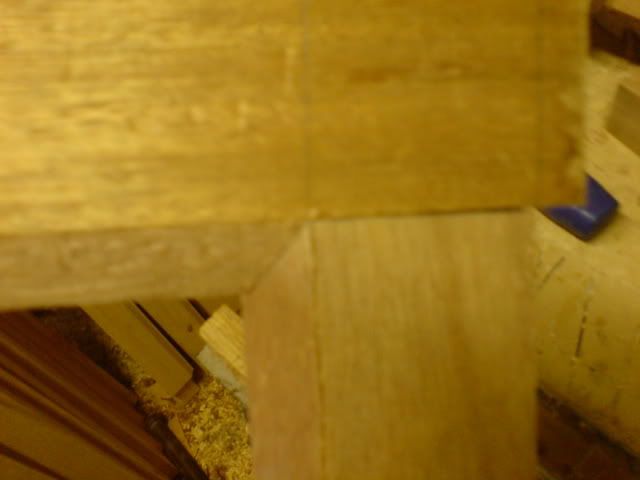
Sorry about the gap , i was holding one part in my hand and the other between my legs while trying to take a pic
At last i managed to do a little bit more this afternoon .
All the haunched M&T cut
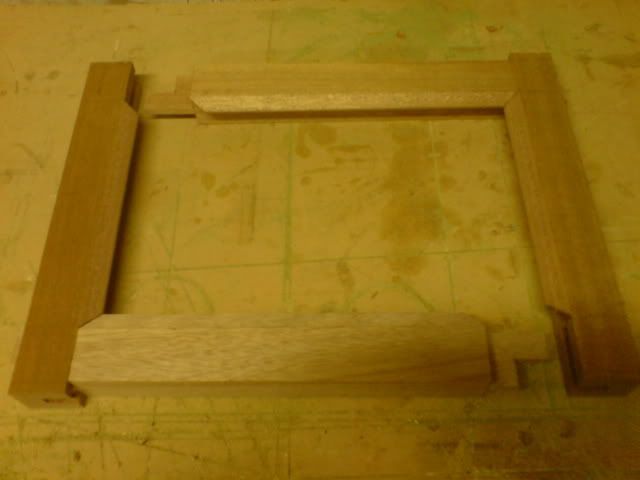
And the most basic of mistakes was made , for some reason i didn't mark out the side stiles for the bottom window back to back . The result is to stiles the same way round .
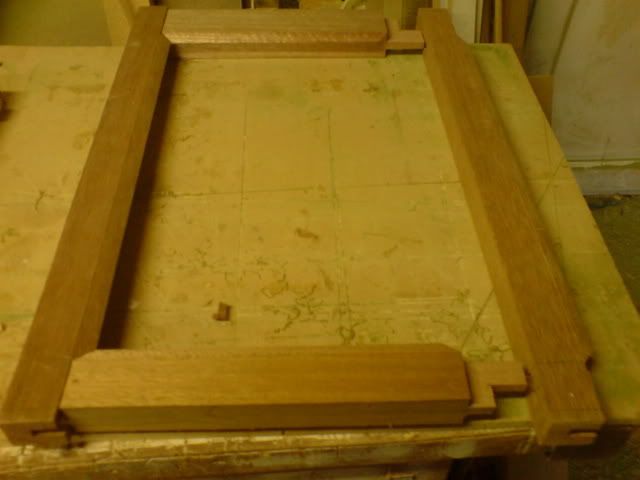
Annoying but it's sort of good it happened on this one as it shows what not to do .
It's very simple to get around a mistake like this , what you need to do is see what one is the best and set it aside . The other one gets thrown across the workshop while screaming blue murder .....after mumbling to yourself for a while you make another one the right way round .
Clamping up , much the same as the frame . Check for square with your pinch rod and make sure the opener is in wind by lining up the edges with your eye .
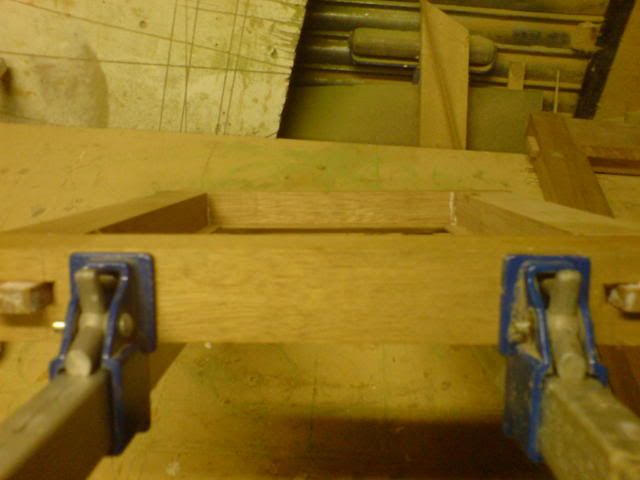
Again i put the wedges in after the glue has gone off so i don't knock the opener out of square when knocking them in
Once out of the clamps i glue the wedges in . I was actually taught to do this on glue up as the way you put the wedges in tightens the joint to the shoulder but as i said before i do it after as i need to speed things up to earn a living and squaring clamping and then wedging saves alot of messing about i think .
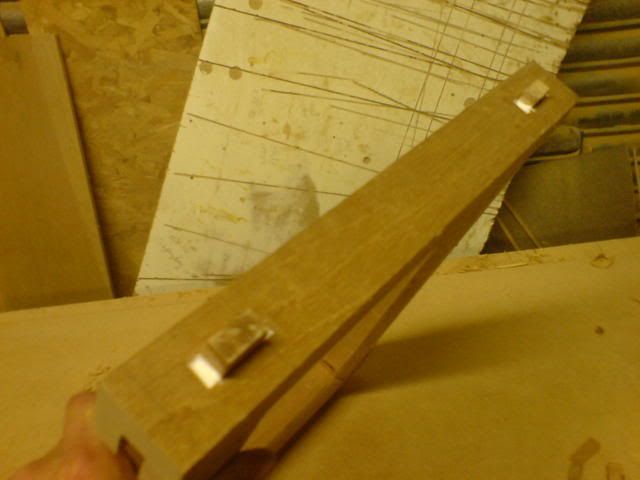
I still use the same practice of knocking in the outside wedges first .
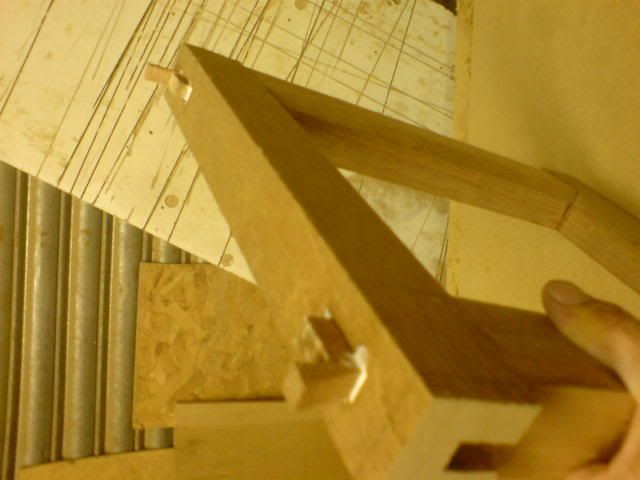
Once you have fitted the wedges and cut them flush and have cut of the horns like on the frame check it fits :lol:
I use a belt sander to clean up but a hand plane or sanding by hand can be used , it just isn't as quick .
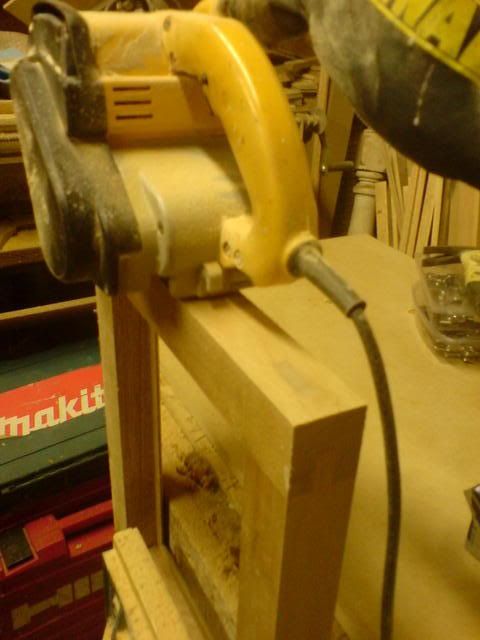
I run the belt sander all over the window not just the edges .
Once that is done you can cut your beading to hold the glass in and pin it in so you don't loose it . 1 pin left proud does the trick
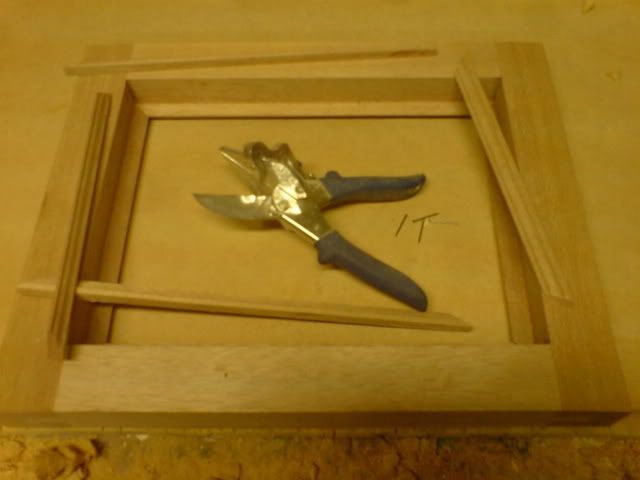
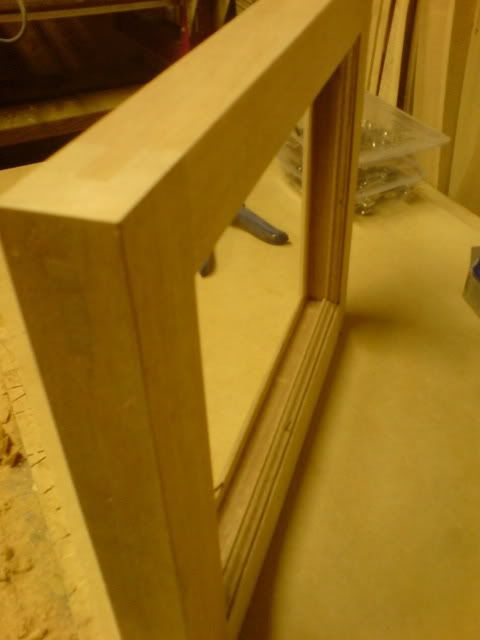
One window ready to hang . The other may take a while as i messed up the stile and i'm still very busy but the practice is the same so i wont be taking pics of that one
Hanging the top opener .
I normally leave 75mm from the edge for the hinge but because this is a small window 65mm looked better . So draw around the hinge and chop out the out line and then cut the depth as on the left .
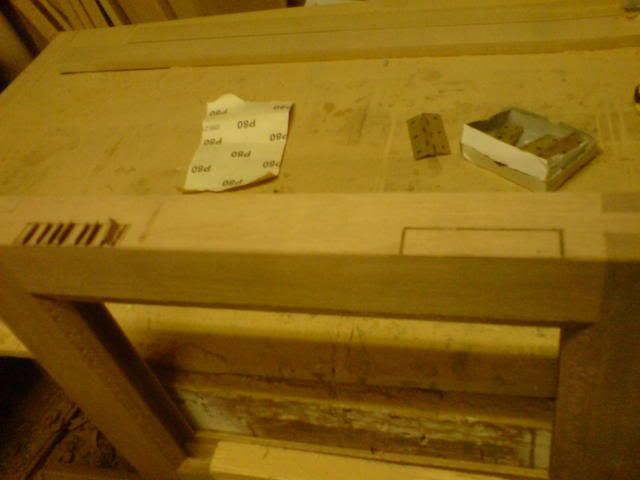
Once cut in line up your opener so the gaps at the sides are even and mark off the sides of the hinges on your frame .
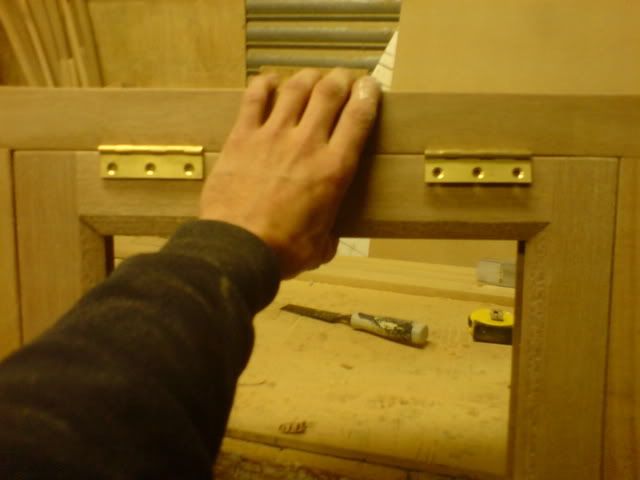
Line up a spare hinge with your marks and your ready to cut out the frame side .
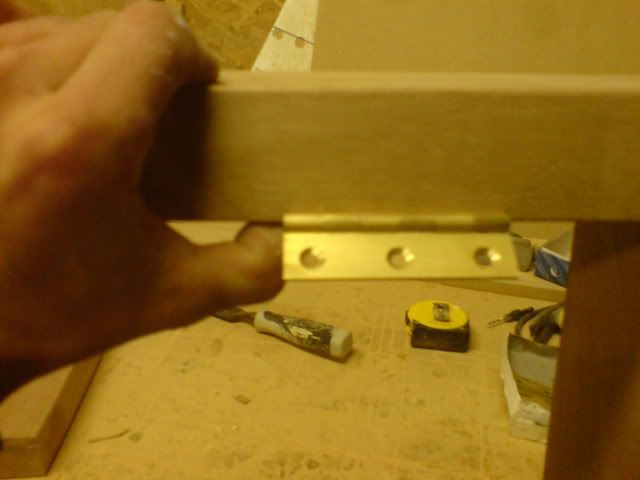
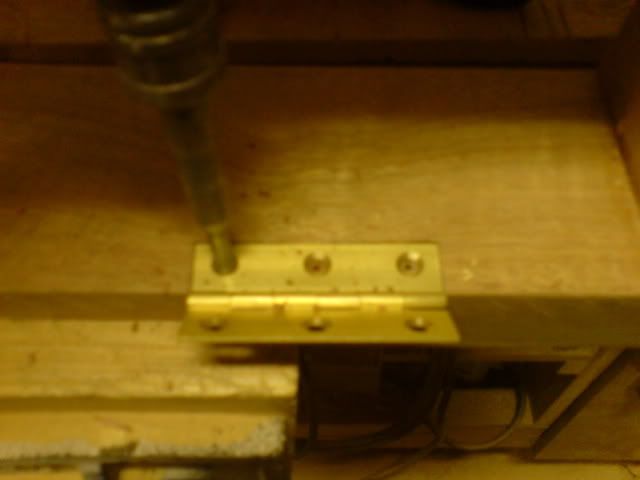
I use a hole center finder to predrill the screw holes .They are quite cheap and actually work :shock:
Now your ready to hang the opener , you close it for the first time and it doesn't shut .
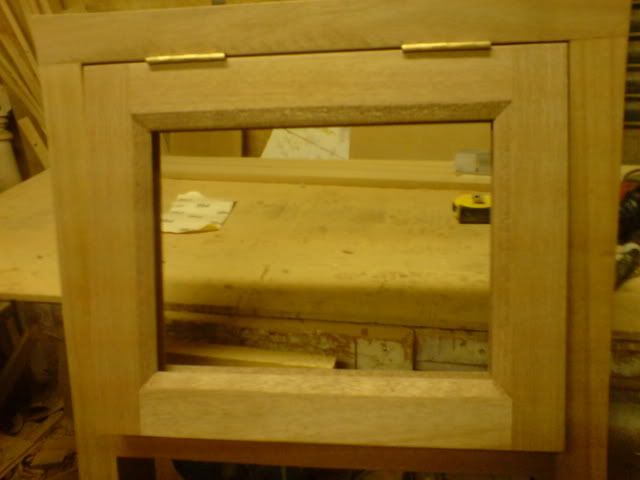
Don't worry and don't go chopping more out of the hinges just yet [-X
The leading edge will probably need taking off . Look at the big gap at the top and the bottom is hitting but i know that the gaps where ok from shooting in the window as shown above . Plus the gap from the outside of the window look fine .
