|
|
Post by Dave S on Mar 27, 2008 14:00:39 GMT
Almost finished the decorating - at the weekend I start laying 35m 2 oak floor along with skirting boards, door linings and, when they arrive, doors. First question (no doubt there will be more) is this: I have a bay window with angled sides so I will have two internal corners of approx 135 0. I've fitted skirting into square(ish) corners before so I know how to cope (is that the correct term?) the joints, but what is the correct method for these corners? Bearing in mind they are oak, filler and paint-over is NOT an option!!  Also, 2nd question, I know, what would be the recommended method of fixing? Dave  |
|
|
|
Post by jfc on Mar 27, 2008 14:49:40 GMT
To get a perfect internal mitre you lay the skirting against the wall and draw on the floor front and back , then place the skirting on the other wall and do the same . Where the pencil lines meet is the angle you want on both boards . I'm not sure i would want to scribe in an internal at 135 * .
I would screw and plug them .
|
|
TonyW
Full Member
  
Posts: 173
|
Post by TonyW on Mar 27, 2008 16:27:41 GMT
Would GRIPFILL be a viable alternative to plugs and screws for Oak? I have used this quite a lot recently on MDF and Pine skirting and found it to be pretty good. You would still have to find some way of ensuring firm contact to the wall while the adhesive sets Cheers ;D Tony |
|
|
|
Post by Keith on Mar 27, 2008 16:56:16 GMT
For scribing odd angles Jasons method works well, but the really posh people have a Nobex ;D
Tony
I sometimes use Sikaflex,(like Gripfil Max) but the wall needs to be in good condition.
If the walls are poor you can always chop away the plaster and fit grounds (basically timber battens level with the plaster) and pin or screw the skirting to that.
Keith
|
|
|
|
Post by modernist on Mar 27, 2008 22:27:10 GMT
To get a perfect internal mitre you lay the skirting against the wall and draw on the floor front and back , then place the skirting on the other wall and do the same . Where the pencil lines meet is the angle you want on both boards .quote] Could you illustrate that please for us lesser mortals. ;D |
|
TonyW
Full Member
  
Posts: 173
|
Post by TonyW on Mar 27, 2008 22:46:43 GMT
Could you illustrate that please for us lesser mortals. ;D This LINK might be of some help (it was to me recently) Cheers ;D |
|
|
|
Post by Dave S on Mar 27, 2008 22:52:39 GMT
Yes, I didn't think scribing a joint at that angle was likely to be a realistic proposition. So a mitre it is. Working out the angle is not so hard - cutting the joint is another matter. Not posh enough for a Nobex- besides I've spent all my money on the oak! Think I'll make up a traditional mitre box for the job. The skirting I removed was fixed by the longest nails known to mankind so there was a bit of damage caused in removal. It's plasterboard on dabs - I'm not too keen on the idea of gripfill in this instance although I've used it before with success. I'm going to remove some of the plasterboard to provide expansion gap for the floor anyway, so I think I'll put some grounds on and screw/plug to that. That will also give me a gap in which I can run some speaker cable from one side of the room to another.  cheers for the advice. Dave |
|
|
|
Post by jfc on Mar 27, 2008 23:05:07 GMT
you want me to show you how to draw around a bit of wood and then join the dots  ;D |
|
|
|
Post by mrgrimsdale on Mar 28, 2008 6:36:14 GMT
Yes, I didn't think scribing a joint at that angle was likely to be a realistic proposition. So a mitre it is. Working out the angle is not so hard - snip Normally is scribed. Working out the angles as per jfc's description, then bisect it with compasses (on the floor) and transfer to sliding bevel. This angle (about 67.5) is for the first cut in the moulding of the scribed piece, to give the line, the rest of it being backed off at 45. Try and arrange the sequence so that each piece has one easy end and one difficult but where this isn't possible do the difficult scribed end first before the easier mitred end. cheers Jacob |
|
|
|
Post by jfc on Mar 28, 2008 8:18:07 GMT
You dont need to mitre the whole joint , just mitre the moulding and scribe or butt the flat part of the skirting board . They used to actually half house the flat part into the other  Scribing it will look crap as the top part of the moulding wont follow round , you will see a break in the flow of the mould . Ok for painted work but not finished oak IMHO . As a side note the only time i have seen scribed bays is where the flat part has been fitted and then plastered into the returns before the return skirtings have been scribed and fitted to it . Why did they used to do that  To stop cupping maybe  |
|
|
|
Post by colincott on Mar 28, 2008 8:30:47 GMT
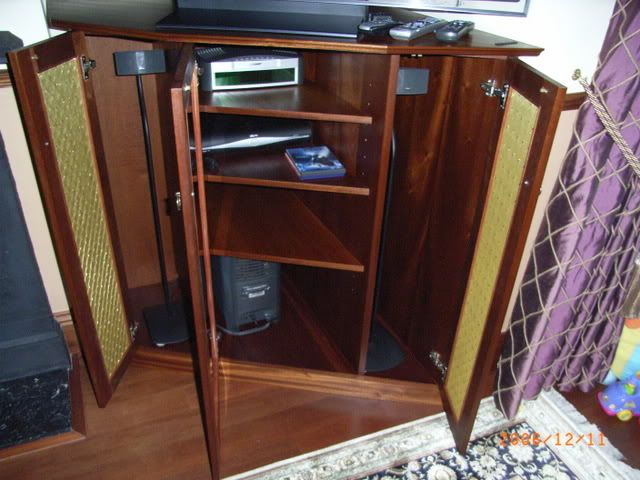
Hi Dave Dont you have the EZ  You can dont all your cuts with that and if you have the square ( that is if your joints are square  ), use that too. It how I did the front of this unit  All I did was to mark the angle on the on the end of the board at both ends. Set the rail to the cut line and away you go  |
|
|
|
Post by pitbull on Mar 28, 2008 18:00:20 GMT
I can't see the problem in scibing, As for fixing..St St screws and oak plugs.
|
|
|
|
Post by modernist on Mar 28, 2008 22:00:52 GMT
Could you illustrate that please for us lesser mortals. ;D This LINK might be of some help (it was to me recently) Cheers ;D Ahhh   |
|
|
|
Post by modernist on Mar 28, 2008 22:01:37 GMT
you want me to show you how to draw around a bit of wood and then join the dots  ;D TonyW did   |
|
|
|
Post by jfc on Mar 28, 2008 23:12:42 GMT
Ever so sorry old chap , i assumed you where trade and would know this method .
|
|
|
|
Post by modernist on Mar 29, 2008 7:57:21 GMT
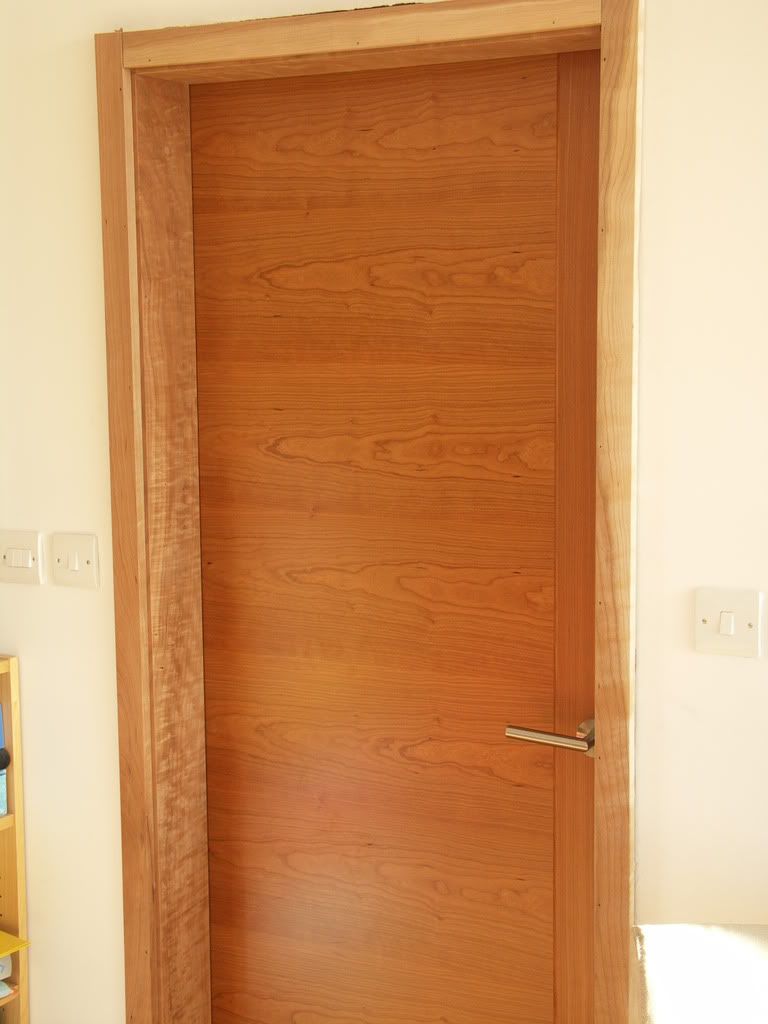
Ever so sorry old chap , i assumed you where trade and would know this method . It's certainly true that I don't earn my living by woodwork at the moment but I have cut the odd mitre in my time. I just did not understand the description. As it happens I have not used mitres in my current dor job in cherry and made them in the European style instead which I think matches the style of the (bought in) door quite well.   Keep posting the guidance ;D ;D cheers Brian |
|
|
|
Post by Dave S on Mar 29, 2008 10:56:18 GMT
And there was me thinking there would be one definitive, correct way to do it!! ;D I'm going to have a practice with some scraps of the old skirting board before I do the real thing, so I'll try out half-mitred and scribed joints and see how I go. I've got a couple of days to practice as I won't start laying the floor until tomorrow. And I need to buy some plug cutters. Should have thought of that earlier - I did an Axminster order a week ago!  |
|
|
|
Post by mrgrimsdale on Mar 29, 2008 10:58:35 GMT
Could you illustrate that please for us lesser mortals. ;D This LINK might be of some help (it was to me recently) Cheers ;D That's a good link with very clear description. pics 10 - 13 show internal scibe. For funny angles it's just the same except e.g. at 135 you cut back the profile at 45 instead of 90. You always undercut slightly so that the visible meeting edges close up tight. There's variations such as Jason's housing - or a crude version of the same where instead of backing off the scribed edge you can chip away from the other piece- you find out where to back off by offering the pieces up to one another in situ and seeing where they do/don't meet. Pefectly possible to do without any mitre boxes or other aids, over a pair of saw horses + a g clamp. Coping saw for fancy mouldings, or fret saw even. Rasps useful for backing off, or the surform rasp. Scrit had a thread earlier - looked like more mitres/scribes than most of us do in a lifetime! cheers Jacob |
|
|
|
Post by Dave S on Mar 29, 2008 11:04:37 GMT
Hi Dave Dont you have the EZ  Of course I do!! Oh dear - been a busy week!!!  My starting point had been that my cheap and cheerful B&Q mitre saw would not be up to it and I hadn't really got out of my head the idea of cutting it vertically. I guess it would eventually have dawned on me since I will be using the easy for cutting the floor boards. I have a home-made version of the square so will be using that. Right - well I'd better get on!! cheers Dave |
|
|
|
Post by evergreen on Mar 29, 2008 19:52:49 GMT
Modernist
Those are beautiful looking architraves and frames you've fitted. They complement the doors very well.
|
|
|
|
Post by modernist on Mar 30, 2008 0:12:35 GMT
Thanks - I'm pleased with them too ;D ;D Nevertheless I see I've been smitten   Must have been putting my architraves in skirting thread   In my defence I was thinking about mitreing and firing one back at Jason (was it you?) cheers Brian |
|
|
|
Post by jfc on Mar 30, 2008 7:28:54 GMT
Huh  Why do i get the blame  Not my fault you like the "ready for the plasterer" look is it ;D |
|
|
|
Post by pitbull on Mar 30, 2008 8:07:40 GMT
Once you have transfered your angle onto your sliding bevel. If you have a triangular roofing square, butt the bevel on the square and it will tell you the angle, if you are cutting by a chopsaw, if your cutting by hand then you won't need to know.
|
|
|
|
Post by modernist on Mar 30, 2008 8:25:15 GMT
|
|
|
|
Post by modernist on Mar 30, 2008 8:26:12 GMT
Huh  Why do i get the blame  Not my fault you like the "ready for the plasterer" look is it ;D I was thinking more decorators filler ;D ;D |
|