|
|
Post by engineerone on Oct 4, 2007 23:59:22 GMT
when i have properly figured out posting the pics here too  i will update my coffee table, but just want to thank colin c for his help last night. got to glue the long rails into the ends, and insert the intermediate shelves. amazing what working with a professional does for the speed at which you can do things. i have always assembled things by laying them on their side, but colin showed me that the sandwich method is easier and more effective. happy to report the rails are all level, and the legs seem to be flat on the build up board too, which is very encouraging. thanks also to scrit and dom for their verbal advice earlier. cheers guys, but to colin for taking the trouble twice now to travel over here and help out.  now all i have to do is fillet the shelves, and sort the top  but maybe within a week to 10 days for finish. paul  |
|
|
|
Post by colincott on Oct 5, 2007 0:06:35 GMT
Did some one call  ;D Hi Paul What are friends for if not to be a pain in the ar*e when they want help  ;D just glad I could help |
|
|
|
Post by engineerone on Oct 5, 2007 9:49:48 GMT
isn't it nice to be called a pita, and i thought he was a friend  anyway, as promised, a couple more photos. two you may well have seen in another place  the other one is the result of last nights work. the whole frame glue up, 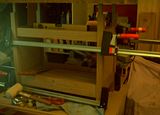  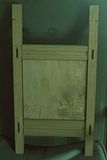 maybe it is me, but somehow i can only load 3 pictures here, so will post again with the top. as you can see the top picture is the glue up, which surprise surprise came out flat and level, so no need to cut the legs so as not to rock  which just goes to show that even a novice table maker, with a little help, can make one which does not need post glue up working.  paul  |
|
|
|
Post by engineerone on Oct 5, 2007 9:51:33 GMT
oh poo, still not right, there are two pictures missing  now lets see what happens 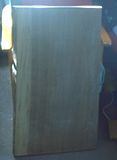  supposedly there should be two pictures, but i don't know anyway, this is the whole frame paul  |
|
|
|
Post by engineerone on Oct 5, 2007 9:58:44 GMT
gawd this is a pain the top does not want to show itself to you  [img src="[/img]IMG]http://i201.photobucket.com/albums/aa283/engineerone/coffee%20table/thetop.jpg"] well i don't know suppose i'll have to reset something anyone know what. all these pictures are in the same folder on photobucket, so  paul  |
|
|
|
Post by davyowen on Oct 5, 2007 10:10:19 GMT
Hi Paul, if you post up the links I will see what I can do. Oh, just so that you know, I removed some unnecessary tags from your previous posts. Davy EDIT: I just noticed that the tabletop picture has appeared. Damn I'm good ;D Wasn't even trying either  |
|
|
|
Post by engineerone on Oct 5, 2007 10:14:22 GMT
honest this is not the aim of getting the most posts within the shortest time  lets see if the top goes here now 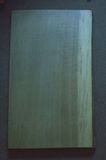 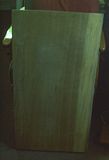 you can now i hope see the shape and style that i am going to keep which is why i have used some not "perfect " wood elsewhere on the project, so it reflects the odd shape. next step is to relieve cut the back of the top to flatten it, since i do not want to cut it apart and then re-glue, which would basically remove the value of the shape and style. i will make a number of cuts, maybe 4 and then fill those with oak strips to allow me to flatten it, and stop the warping that frankly i think is pretty normal for a lump this big that has not been in stick for the length of time we have had it, at least 30 years  once that is done, i can cut the mortices and sort the wedges for the tenons. so is it me, or what is going on, i can only get to see one of the two photos i have posted  paul  |
|
|
|
Post by davyowen on Oct 5, 2007 10:17:03 GMT
Paul, the problem is the IMG tags at the start. They don't need to be there and are confusing things.
Davy
|
|
|
|
Post by engineerone on Oct 5, 2007 10:44:38 GMT
alright davy, thanks but just remind the dumbo that is me what i need to click here to add the pictures do i just paste where i want them, or do i click the tv icon on the top which is what i had done??  nice to be literate, just wish i was computer literate too  paul  |
|
|
|
Post by davyowen on Oct 5, 2007 11:34:27 GMT
After you have uploaded an image to photobucket, it is displayed in your 'album' Here you see a thumbnail of your picture and 4 options below it. You want the 'IMG Code' option.  Click on the yellow box with the code and it will display a 'COPIED' notice.  Now all you have to do is paste the code into the box where you type your message (CTRL+V / right click and select paste).  [IMG]http://i62.photobucket.com/albums/h110/davy_owen_88/1157096256810od0un4.gif[/IMG]By the way, does that picture crack anyone else up? Every time I look at it I laugh. ;D |
|
|
|
Post by engineerone on Oct 5, 2007 14:22:08 GMT
i love these self portraits  but i do wonder how one so young could be so computer literate  ;D and thanks paul  |
|
|
|
Post by engineerone on Oct 7, 2007 11:47:56 GMT
gawd i am better at woodworking than posting  anyway have basically finished the underframe, put beading which i had formed on the woodrat around the shelves. i coped it rather than mitring because of the set backs, and also after doing it on skirting board, seems much more sensible. used the dremel and a rubber spindle with an abrasive cover. one of the cheap sets from lidl. (where would we be without them?) here i hope is the table in the room where it will go. the top is just sitting on the frame 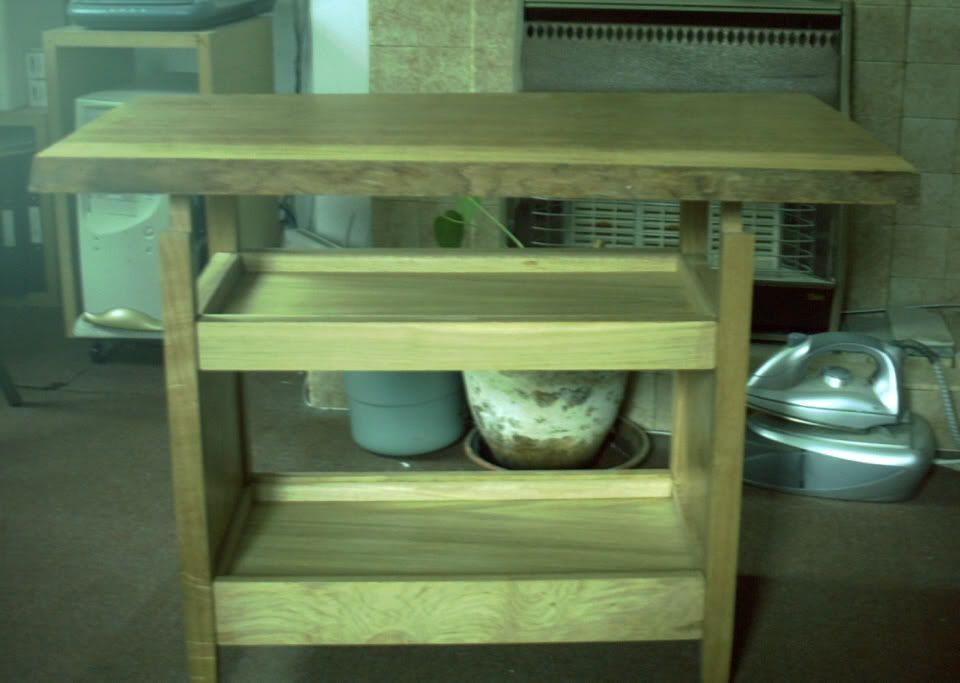 guess who forgot to make the picture smaller. it's at times like this you wonder whether to make it a japanese table with a pagoda top ;D couple more pictures to come may not be as quick as jason, but  paul  |
|
|
|
Post by jfc on Oct 7, 2007 11:52:10 GMT
Paul , in photobucket it lets you chose what size you want to upload the pictures . i use web page/forum size and it resizes them for me . then all you have to do is copy the bottom box under the picture and past it direct here without any of this sites tags .
|
|
|
|
Post by engineerone on Oct 7, 2007 12:03:18 GMT
alright, found some more tools there, so lets see if this works 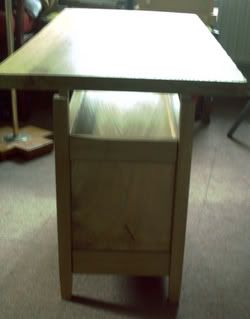 still a bit big, but all i next have to learn is to do that with more than one picture. anyway that is the end view, quite happy with what it is like so far. next step is real brown trousers, making the top flat and level, then cutting the mortices, and making them fit properly  paul |
|
|
|
Post by engineerone on Oct 7, 2007 12:08:10 GMT
ok this shows the table in the room it is going to be in, and some idea of the scale and size. also shows my computer bench, must get those bookshelf doors finished  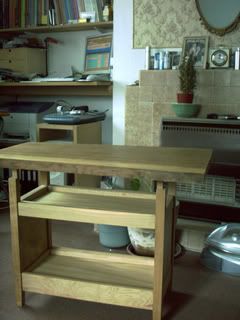 now i must learn to work within the jason time scales ;D as you can see the top has some heart wood, but i will leave it, and not use any darker varnish. the rest is coated with clear acrylic, and will be waxed too with clear wax. just a few details to finish and then the top. then i need an outsider to check anything i need to massage to improve.  paul |
|
|
|
Post by dom on Oct 7, 2007 13:00:33 GMT
Very nice Paul, although taking advice from Colin is a little dubious ;D
|
|
|
|
Post by engineerone on Oct 7, 2007 13:53:44 GMT
just cause i didn't take your advice about the top dom  anyway thanks for the comments, always nice to get the view from a pro  paul  |
|
|
|
Post by colincott on Oct 7, 2007 17:54:45 GMT
Very nice Paul, although taking advice from Colin is a little dubious ;D Now Now Dom  Carry on like that and you might hurt my feelings  always nice to get the view from a pro always nice to get the view from a pro   |
|
|
|
Post by engineerone on Oct 11, 2007 21:32:11 GMT
having finished all the mouldings for the shelves, i noticed a couple of days later that one of the end ones had moved  a quick blow over with the hairdryer loosened it enough to move back to shelf level, and allow it to fit properly against the long pieces. anyway colin cott kindly came over tonight to help me with the top. a 30 mm thick lump of oak ,it had over time warped slightly, and i wanted to retain as much as possible of the size and shape, so cutting and re-joining was not at this time a viable option. so colin bought over his ez guide, and worx saw and he cut 4 slots in the underneath, after a day or so of clamping upside down, i will use the old restorer's trick of then inserting some strips of oak into these in the attempt to retain the flattness. then i can take the big step and mark and cut the mortices   so a big thanks again to colin for his help and advice. paul  |
|
|
|
Post by Alf on Oct 12, 2007 6:54:11 GMT
S'coming along nicely, Paul.  i have always assembled things by laying them on their side, but colin showed me that the sandwich method is easier and more effective. You wouldn't like to tie yourself in descriptive knots and explain the difference I suppose? ;D Cheers, Alf |
|
|
|
Post by engineerone on Oct 12, 2007 10:11:51 GMT
ok, lets see if i can fulfil alf's request to tie us all in knots  remember although i did woodwork at school, it was at an engineering college, so not the main subject we learnt, and in those days one did not tend to make tables of this size. anyway what i had picked up in the past was to assemble and glue square and accurately the end frames, and the floating panels. that is relatively easy  i have organised myself an assembly board which is a lump of 30 mm mdf about 4x4ft, this gives me some freedom on the bench to have a little glue squeeze out. with the end frames, i laid out the four main constituants in their proper order, dry fit them again and make any necessary adjustments. then test fit the floating panel. this is kept somewhat central by some foam plastic (supplied by colin  ) once happy that it has not racked in storage or during assembly, it is time to glue up. in this case i used the red topped glue bought from lidl. says it is uhu, so decent quality, but quite quick to dry. i put the glue on the bottom of the tenons, not too much on the mortices. slide the tenons in and get a little squeeze out. check for square, and then clamp up in my bessey's hold upright and make sure that the legs were both stable on the assembly board, and that the cross rails were straight and the legs vertical. fortunately this was ok,  then i felt that much as i might have been able to assemble the whole once the end frames dried, i felt help would be very useful. colin offered so i snatched off his hand to take up the offer. historically i would have place the end panels vertically, but with one leg on the assembly board. so if you like the table is laid on its side. i would have supported each end, then dry fit the cross rails and in this case the shelves. make sure they all fit, and then stand it up to check for square and levels. however, colin suggested a different approach. once having ensured the joints all work, you disassemble, and lay one end flat on the assembly table with the mortices pointing upwards. then put the long rails in vertically and slide in the two shelves. finally place on the other end. move toward the edge of the assembly table and put the clamps on. manouvre to get all the clamps on. then once the table is clamped, lift it and stand it as it will eventually be. check again for levels. although i checked with a level, colin sighted. since he has the experience to do so. again fortunately my design and m/t work meant that it was flat and level  . so from my point of view the difference was the way in which i assemble on the bench. the way that colin has showed me is i feel pretty good until your unit is about 4 feet or over. unless you have a decent set of steps ;D, or a bench you can raise and lower. now many of you may already assemble this way, but to me it was not a way i would have thought of, i felt it would be too difficult to control. maybe it is m/t's and dowels that would work, not sure it would be quite so easy with biscuits. although having a helper makes a real difference. hopefully that is a reasonable explanation, but let me know if you want more details  paul  |
|
|
|
Post by Alf on Oct 12, 2007 13:37:15 GMT
Paul t'was crystal - thanks for taking the time.  It's been so long since I actually made anything I haven't the foggiest which way I use - glue ups are not something I tend to dwell on in memory... Cheers, Alf |
|
|
|
Post by engineerone on Oct 12, 2007 17:11:27 GMT
well alf just in case twas not to clear to others, here are two photos. one showing how i would have done it, and the other how we did  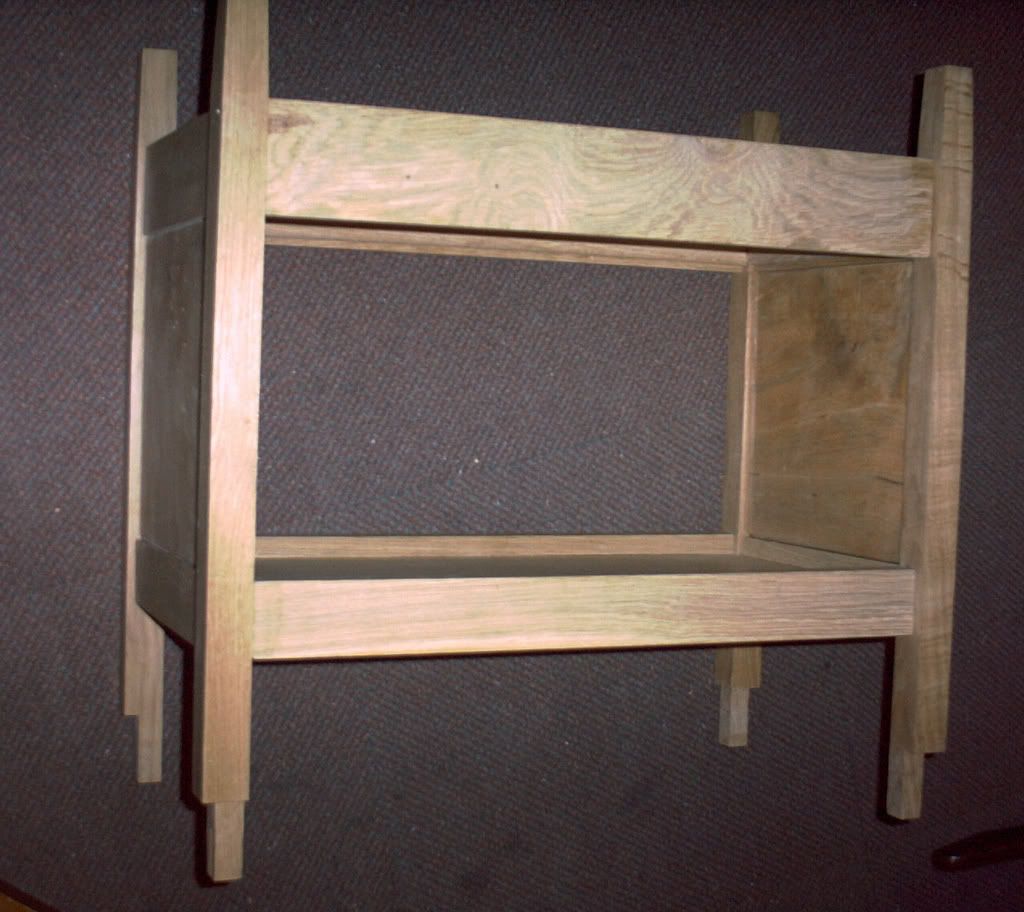 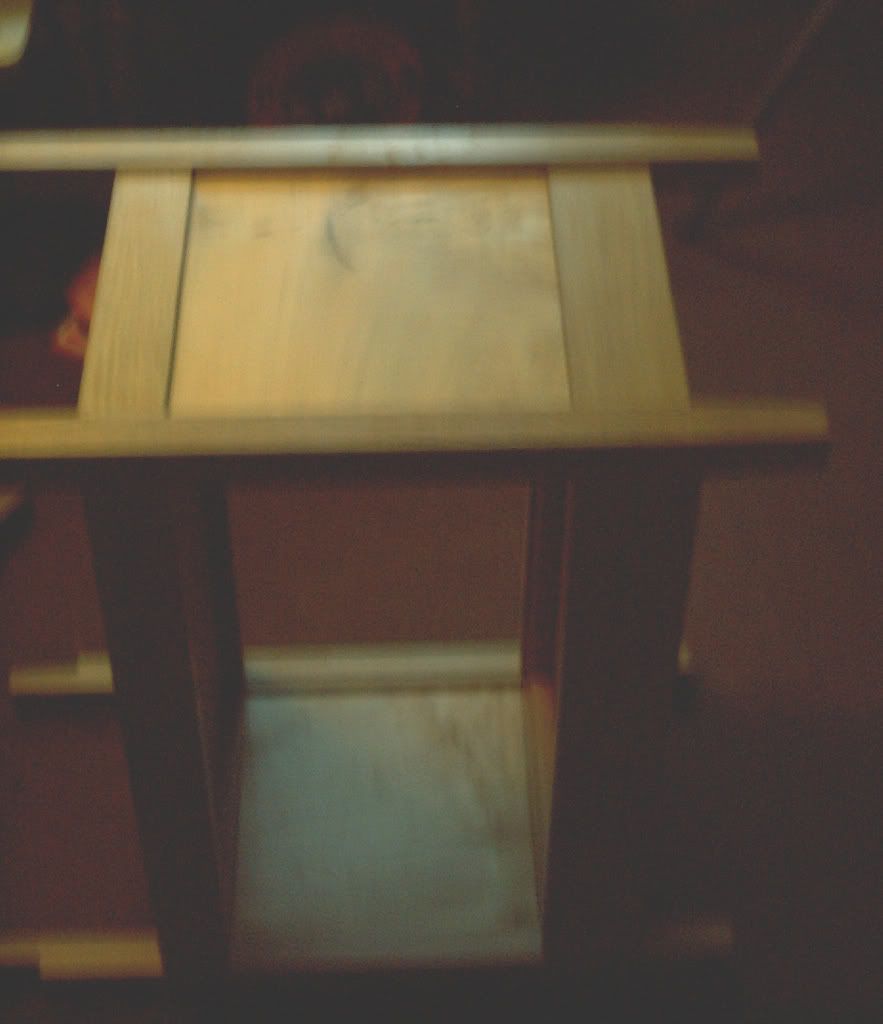 shows how much the sun goes down quickly at this time of night. so the lower one is how we did it. must say it was much easier. an update about last night. the top was slightly bowed. i did not want to cut it apart and re glue, since it would probably mean changing the shape. colin suggested that we relieve cut the underneath and then clamp it, and insert strips to hold the position. so last night colin bought his ez rail guide and a worx saw to help me out, since my mafell has a very narrow, (2mm) blade, and this was too small. my first time seeing an ez in practice, and i was impressed. not going to get into the debate, but if you already have another saw, then it has many benefits. the tip from colin about enclosing the front of the blade with a bit of thin clear plastic was useful too, certainly cut down the sawdust shooting out the front. i must say that a solid rail certainly has benefits against the mafell flexi one, mainly that you can more easily use it on short boards without flexing. anyway i have ripped the insert strips from a piece of quarter sawn oak, now have to shave those down for a tight, but sliding gfit in the top. a job for tonight. then i must make them flat and level with the surface, then see how flat the top is, and whether it needs any more work. then the scary part, cutting the mortices  a final interesting tip from colin, instead of a rag to remove glue during glue up, use a paint brush which is only just wet. and then remove the rest with the rag. very good and much easier than using a rag alone. sorry again about the photos. paul  |
|
|
|
Post by engineerone on Oct 25, 2007 23:14:20 GMT
sorry it has taken so long to get back to this, but after colin had cut the slots for me, i then sorted the inserts, and glued them in. couple of days later came back to it to discover that after flattening the inserts it had not flattened the top as much as we had hoped, so some careful planing with my trusty number 164, got the underneath flat. so as i have said elsewhere, i went and started to mark out for the through tenons in the top. in hindsight, i should have made a pattern of the top of the base unit, since the top itself is not square. then i could have centred this and laid out the tenons on the top, and marked then drilling through from the top. unfortunately i did it from the bottom. so later i found that when i had chiselled out to more nearly square for the tenons, i had not telegraphed the marking out properly. i thus ended up with some oddly shaped mortices. got to the point where i felt that i was at the bottom of the hole, so i stopped digging( in this case chiselling  ) left it a couple of days, then thought about making the most of the "mistake" by outlining in walnut. but the shapes were too odd. so another call to colin, who was tonight able to offer me some more time and help. as it happened the mortice holes were not as bad as i had felt they might be, but colin came with a fresh eye, and squared them to the tenons themselves. it is really useful to have someone who makes a living doing things like this, come along and show and explain. whilst my chisels and block plane were quite sharp, they were not "sharp", so that got sorted. then colin made a quick mitre cutting block to allow the walnut strips he had bought along to be cut to go in the mortices, and around the tenons. having shewn me the first one, i am now basically confident enough to try myself. interestingly colin also found the oak a little fragile, so we got a little break out  but nice to know i am not the only one it happens too. ;D so later this week i will finish off the tenon surrounds, and cut the wedge slots in the them, plus cut the tenons down to intended size. working on your own it is very easy to get too fussed about what you perceive of as a real problem when with just a little consideration of the alternative, you can make the most of the mistake  certainly my next table will have a square top, and no through tenons ;D, but this will look pretty decent, as the base does. mind you it will be a bit of a lump to move around  so thanks again to colin. hope i can get it moving now again. paul  |
|
|
|
Post by engineerone on Oct 27, 2007 23:56:58 GMT
ok, have finished all the mortice surrounds got one more to cut back and clean up, since there was a piece of break out on the top near one of the mortices, i have had to infill some oak. again a technique learnt from colin. mind you it is a bugger holding these thin piecesm and cutting them  seems ever since the heart problem, my blood and skin are more easy to damage than before, spend half my time making sure the blood does not stain the wood  the rest trying to make my hands less sensitive. so tomorrow sees the first attempts to fit this top and mortice collar piece on to the bottom. once that is done, it is only left to cut the slots for the wedges, and the wedges themselves, then shorten the tenons, shape them and make the faux wedges. finally when i have recovered the courage, to glue up, and then finally sand and finish the spare areas  been a long old journey, but great fun, and i think will be worthwhile, if the base is anything to go by  mind you it quite heavy for a small table  thanks for looking, hope to be able to post some more in a couple of days. paul  |
|